Have you reached peak t-shirt? You know, that point where your drawers are fit to burst with freebie tees from various fun runs, school fundraisers and stag dos. Rather than subjecting yet another charity shop to your excess apparel, why not put those tired tops to good use and turn them into Lego loot bags for the little ones. Give your kids a chance to flex their creativity and keep those tiny bricks from littering your living room.
Who doesn’t love repurposing and upcycling? It’s a win-win. You declutter your wardrobe, the kids get custom storage solutions for their collections and you get to feel all warm and fuzzy for reducing landfill. Not to mention the kudos from fellow eco-warriors at the school gates. Turn that promotional tat into treasure with these simple sewing projects that will have your Lego lovers brick-building for hours. Reduce, reuse, rejoice!
Introduction: The Benefits of Crafting Your Own Storage
The Joys of Repurposing
What’s not to love about crafting your own Lego storage? You get to unleash your inner child by doodling on fabric with markers, then unleash your inner Martha Stewart by transforming that fabric into functional works of art.
Best of all, repurposing old t-shirts into Lego buckets means you get to reuse and upcycle, keeping perfectly good clothing out of landfills. Reduce, reuse, recycle — it’s a win all around.
Not convinced? Here are a few other benefits of this easy craft project:
•Customization. Your mini builders can personalise their storage solutions by drawing their favourite Lego characters, spaceships or whatever sparks their creativity.
•Cost-effective. Raid your closet for free materials instead of shelling out for pricey storage bins. All you need are a few supplies you likely already have on hand.
• Kid-friendly. This craft is simple enough for children to participate in, with proper supervision, of course. Let them take ownership of organising their Lego collection.
•Versatility. Don’t limit yourself to just Lego storage. These no-sew buckets work great for storing toys, art supplies, bathroom items, and more.
•Durability. T-shirt fabric is sturdy enough to hold a hefty amount of Legos. And if a bucket starts looking a bit ragged after a while, simply make a new one!
•Memories. Years from now, your kids will look at these handmade creations and remember the fun they had crafting and playing. Priceless.
What are you waiting for? Raid your t-shirt collection, grab some markers and get crafting! Your Legos — and inner child — will thank you.
Turn Old T-Shirts Into Cute Drawstring Bags
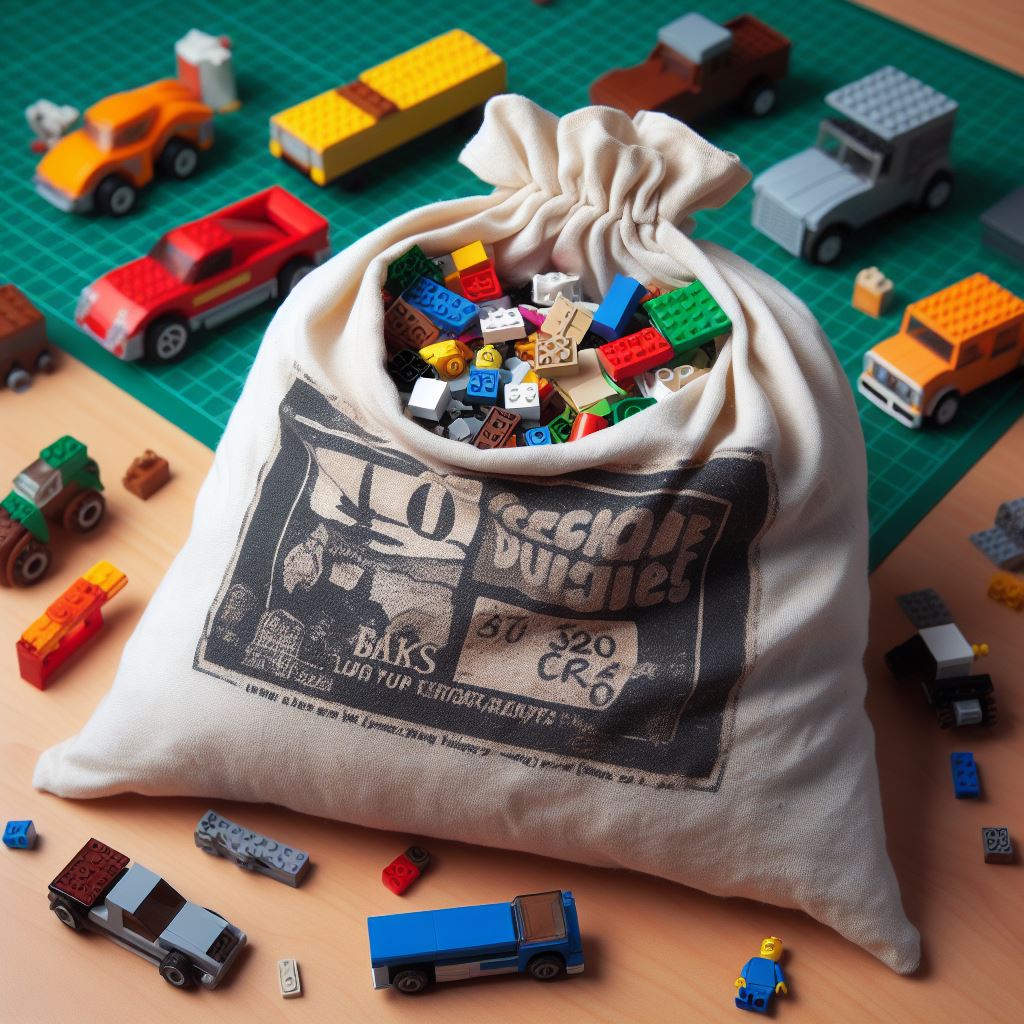
So you’ve decided to finally do something about that pile of tattered old t-shirts taking up space in your closet. Why not turn them into drawstring bags perfect for storing all those little Lego pieces that seem to multiply when you’re not looking?
What You’ll Need
- Scissors
- Fabric markers (the washable kind, unless you want a tie-dye effect)
- A plate or bowl to trace circles
- Ribbon (for the drawstring)
- Safety pin
Instructions
Grab an old shirt and lay it flat. Use your tracing template to cut a nice big circle from the front of the shirt. Get creative with the placement – off-centre circles or circles that incorporate design elements from the shirt can look really cool.
Hand the circle over to your little helpers and set them loose with the fabric markers. Lego characters, spaceships, race cars, whatever their heart desires. When their masterpiece is complete, cut small slits around the edge of the circle, spacing them about an inch apart.
Thread the ribbon through the slits using the safety pin, pulling it all the way through. Gather up the sides of the ribbon and tie securely into a bow to form the drawstring closure. Ta-da! You now have an adorable Lego storage bag, lovingly crafted and customised by your kids.
Stash all those little Lego bits and bobs in the bags and marvel at your newly organised closet space. Your t-shirts have been given a new lease on life and your kids will love seeing their designs put to good use. Win-win! These make great gifts for Lego-obsessed little ones and are perfect for holding smaller toys, art supplies or any odds and ends.
Raid your closet for more old shirts and make a few in different sizes. You’ll be organising in style in no time!
Make No-Sew Felt Pouches for Special Pieces
When it comes to storing those special Lego pieces, the ones you just can’t bear to mix in with the rabble, you’ll want to keep them safe in their own plush little pads. Here are a few ways to repurpose old t-shirts into bespoke bags for your most prized bricks.
No-Sew Felt Pouches
If you can’t be bothered with fiddly sewing, felt pouches are the way to go. All you need are some felt sheets, a glue gun, and your imagination. Get the kiddos to decorate the felt with their favourite characters or whatever Lego-inspired doodles take their fancy. Then, with a little help from the glue gun, simply attach three sides of a second felt sheet to make a handy pouch. Slip in a strip of Velcro to keep it securely closed and you’re in business.
With a bit of adult supervision, these pouches are simple enough for kids to make themselves. They’ll love having a special place to store their most treasured Lego possessions. And when playtime’s over, the pouches can be stacked inside each other for easy storage.
For extra pizazz, add stickers, stencils or iron-on patches. You could even stitch on decorative buttons, ribbons or embroidery for a custom look. The possibilities are as endless as a Lego set with 10 million pieces!
These no-sew felt pouches are a crafty way to keep little Lego hoards happy in their own padded pockets of paradise. And they make the perfect handmade gift for any mini master builder in your life.
Let Kids Personalise Plain Pouches With Markers
Lego pieces end up everywhere, am I right? Under the couch, in the air vents, stuck to the dog—the tiny blocks have a habit of scattering to the four corners of the earth. Rather than spending your days excavating the vacuum or picking Lego pieces out of the carpet with tweezers, do your future self a favour and get those bits of ABS plastic organised.
And by “get organised,” I mean let the kiddos personalise some pouches to keep their Lego loot contained. Hand them a pile of plain drawstring bags or zippered pouches and unleash their creativity. Set out fabric markers, stickers, stencils, or iron-on patches featuring their favourite Lego characters and let them go to town decorating those bags to their heart’s content.
Once the kids have turned those boring bags into masterpieces, have them sort their Lego pieces into the pouches by colour, type, or whatever mad organisational system they devise. Label each pouch to make it easy to find that one four-pronged widget or a two-by-four flat piece in a sea of Lego. Secure the pouches shut, and you’ve got an easy, budget-friendly storage solution.
For extra pizzazz, consider adding ribbon, string or elastic to the pouches to turn them into drawstring bags. Poke holes around the top edge of the bags and have the kids thread the ribbon through, then tie it off to make a stylish closure. Add a safety pin to the ribbon to make the bags easy to hang and display.
Unleashing those tiny imaginative minds on a craft project will keep them entertained for hours. And when playtime is over, they’ll have customised storage to keep their Lego collection contained until the next building adventure. Get ready to retrieve far fewer Lego pieces from the air vents and enjoy a slightly more peaceful existence. You can thank me later!
Create a Bucket-Style Bag From Scratch
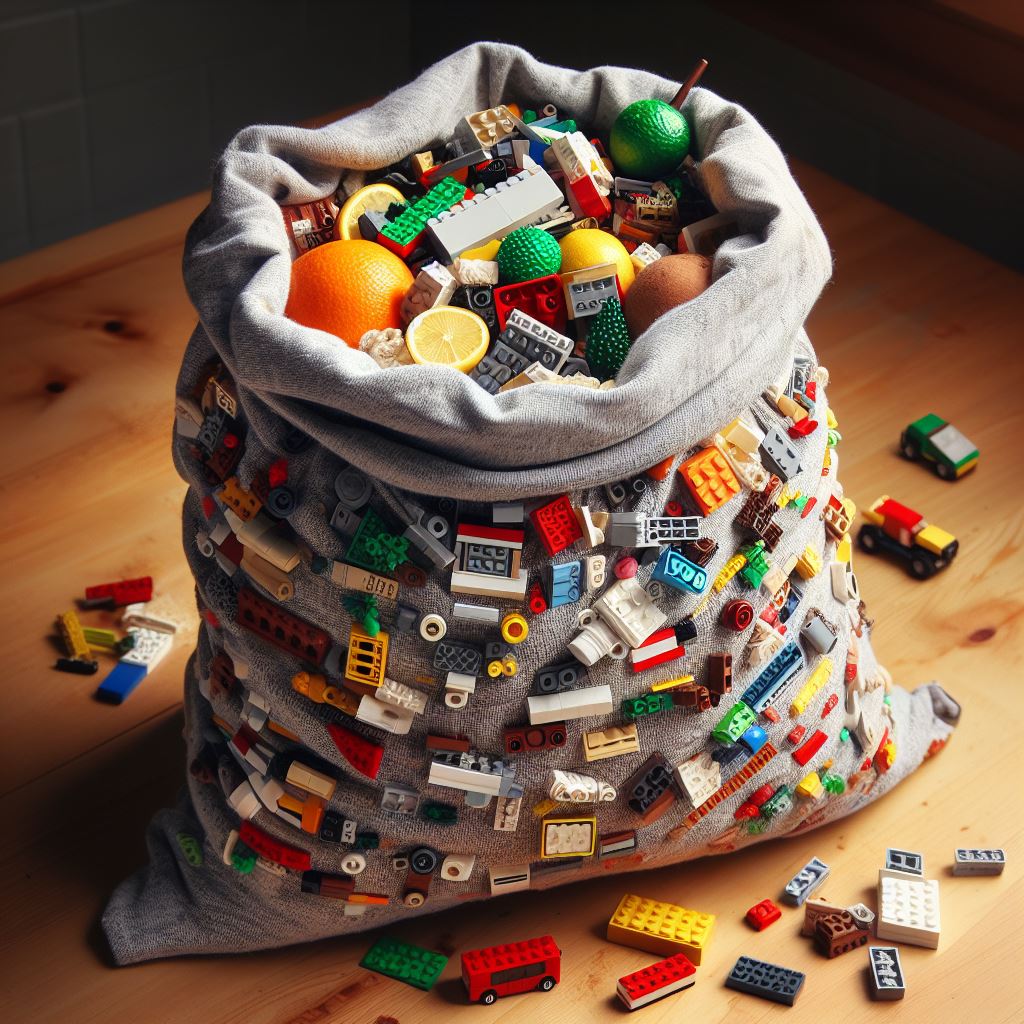
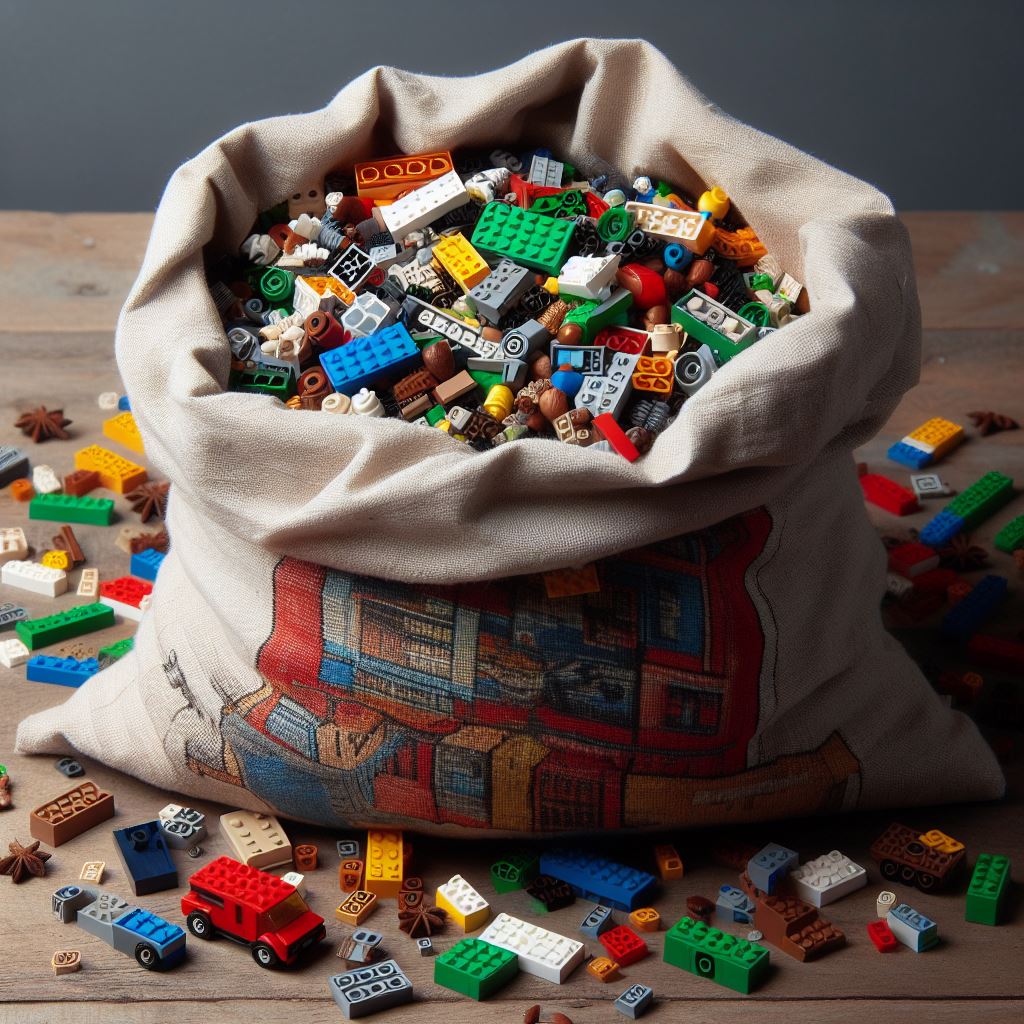
So you’ve got a pile of old t-shirts that don’t quite spark joy anymore, but you can’t bear to throw them out. Why not give them new life as storage solutions for your little one’s massive Lego collection? Repurposing t-shirts into bucket-style bags is a crafty way to keep those tiny bricks from scattering to the four corners of the playroom.
To craft your own t-shirt Lego buckets, you’ll need the following bits and bobs:
•Old t-shirts (the rattier the better)
•Scissors (for the adults, obvs)
•Fabric markers or paint (to unleash the kids’ creativity)
•A plate (to trace a circle for your bucket base)
•Ribbon or cord (to cinch that bucket closed)
•Safety pin (to thread the ribbon through)
Have your little crafters lay a t-shirt flat and trace a huge circle on it, roughly the size of a dinner plate. An adult should then cut around the tracing to make the bucket base.
Next, cut small slits an inch or so apart around the edge of the circle. The slits should be big enough to thread your ribbon through. This is another job for the grownups and sharp objects.
Now set your mini makers loose to unleash their artistic talents on the t-shirt circle. They can draw characters, make handprints, go dotty with stickers—whatever sparks their creativity.
Once the artwork is complete, thread your ribbon through the slits in the circle using a safety pin. Gather up the ribbon, tie securely and—voila!—you’ve got yourself a Lego bucket.
These t-shirt buckets make quirky storage for Lego bricks and a fun craft project for kids and parents. They’re easy on the budget and environmentally friendly too, giving old t-shirts a new lease of life. Most importantly, they’ll bring a smile to your little one’s face as they fill the buckets with their Lego loot!
Safety First: Adult Supervision Required
While repurposing old t-shirts into Lego buckets can be an amusing craft for little builders, adult supervision is non-negotiable. Left to their own devices, small children may turn an art project into abstract interior design, using scissors to put “windows” in walls or turn the living room into an installation piece titled “Shredded Dreams.”
Safety First
Have an adult on hand to handle anything requiring heat, sharp edges or precision. Kids can focus on the fun parts, like decorating and threading ribbon through the t-shirt circles to make drawstring closures. Grown-ups should cut the circles, slits and ribbon to the proper size.
A hot glue gun in the hands of an uncoordinated child is an accident waiting to happen. If you value your floors, furniture and fingers, keep the glue gun out of reach of little ones. Should a mishap occur, have burn ointment and bandages at the ready.
While fabric markers and stickers are generally non-toxic, supervise children to ensure they don’t decide to redecorate themselves or each other. Some markers and paints may stain skin or clothing, so cover work surfaces and have the kids wear smocks, old t-shirts or art aprons.
Always keep scissors, needles, and other pointy objects out of reach when not in use. Little crafters may get excited and run with scissors, and no one wants an impromptu acupuncture demonstration.
Cleanup
When the craft project is complete, do a sweep of the area to pick up any stray supplies, especially small pieces like stickers, before allowing kids to start playing. Have them put their new Lego buckets in an out-of-the-way spot to avoid tripping over them.
With close adult supervision and by following a few basic safety tips, repurposing old t-shirts into Lego buckets can be a fun, creative experience for kids. But once the crafting is over, put away anything sharp or messy and let the little builders unleash their imaginations.
Encourage Creativity and Responsibility
Like any self-respecting child, your little ones probably have Lego pieces scattered from one end of the house to the other. While their unbridled creativity is adorable, those little plastic bricks sure do hurt when stepped on barefoot. It’s time to get crafting and whip up some storage solutions to corral the Lego chaos.
Repurposing old t-shirts is a perfect way to keep kids involved and save your tootsies.
Raid their closet or pick up some cheap tees at the charity shop. Let your mini Lego masters unleash their artistic talents by decorating the shirts with permanent markers. When they’re finished turning the shirts into masterpieces, use the ‘one size fits all’ shirt hole as the opening for their new Lego buckets.
Get adult help
To make the buckets, have an adult cut slits around the edge of the shirt, about an inch apart. Thread some ribbon or cord through the slits and cinch to form a drawstring closure. Fill the shirt with Lego and pull the drawstring tight, and you’ve got an easy breezy storage solution. The kids can personalise their buckets by drawing their favourite Lego characters or scenes on the front.
These upcycled tee shirt buckets are perfect for corralling Lego on the go or sorting pieces by colour or type. They’re easy to make and easy to use, and the kids will love having their very own custom creation to stash their toys in. Responsibility for keeping their Lego in the right bucket is all part of the fun.
When those little Lego ninjas start building battling robots or entire cities across your living room rug, you’ll be glad you took the time to make these simple storage solutions. Their creativity will be uncontained, but at least the Lego will be! Upcycling old t-shirts into Lego buckets is a perfect kid-friendly craft that encourages imagination and gives them a sense of ownership over organising their toys.
Tips for Making Your Own Storage More Fun
Making your own Lego storage solutions more fun for the kiddos is key. After all, if it’s not amusing for them, those little bricks will end up scattered from here to Timbuktu.
Decorate those bags
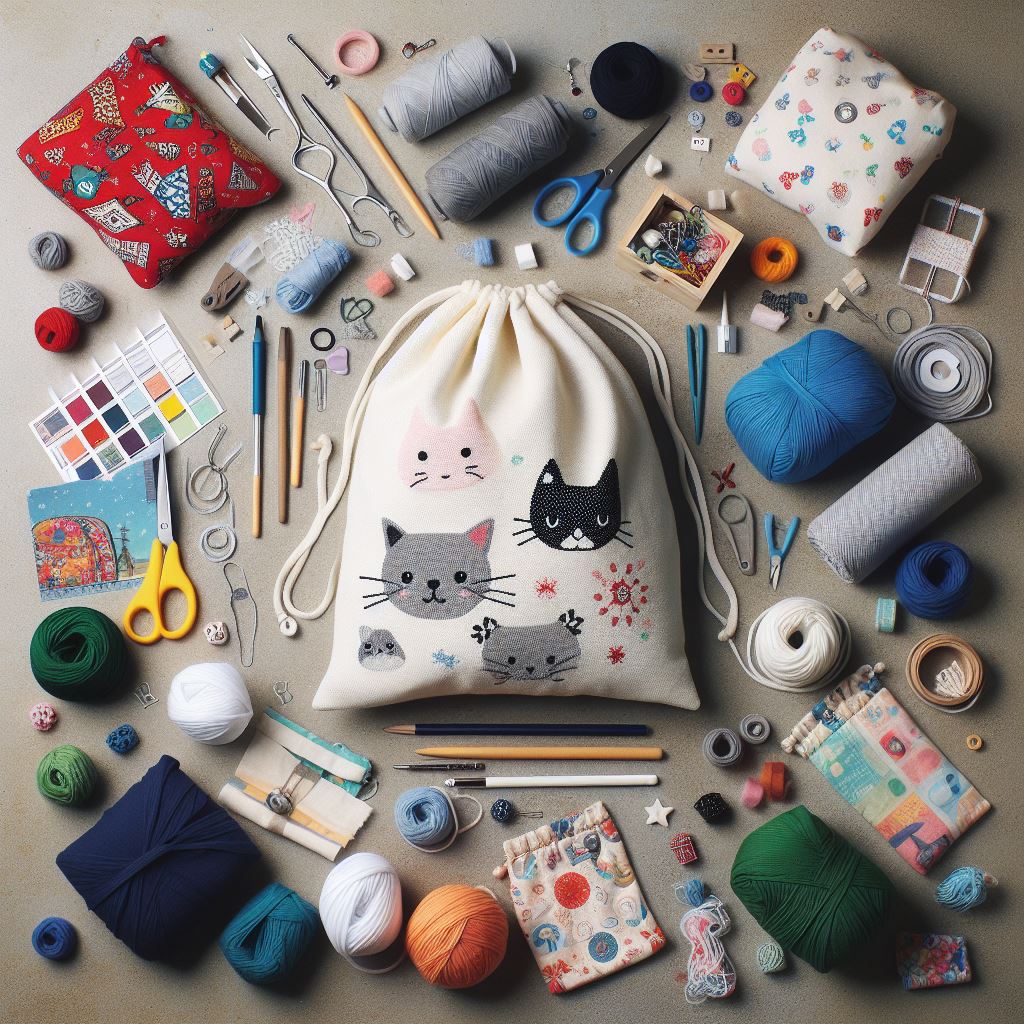
Grab some plain cloth bags or repurpose old t-shirts into makeshift buckets. Then turn the decorating over to your mini-Michelangelos. Fabric markers, stickers, stencils – go wild! Have them draw their favourite Lego characters or make up their own. Iron-on patches are also ace for unleashing their creativity without creating an unholy mess. (But maybe handle the ironing yourself, eh?)
Get tactile
Felt fabric is always a winner for crafts. Let the kids cut out and glue (with your help) Lego shapes, then attach Velcro strips so they can open and close their new storage with abandon. Drawing Lego-themed designs on the felt before assembling the bags will make the experience even more hands-on.
Add some pockets
For extra organisation, add pockets to the outside of the bags or buckets. That way, your little ones can sort their Lego by colour, shape or whatever mad system they devise. Pockets also give them a place to stash instructions, tiny parts and half-built creations for next time.
Snazzy finishing touches
A dash of ribbon, string or cord turns a plain pouch into a fetching drawstring bag. Simply cut slits around the rim of the bag or bucket, thread the ribbon through and tie it off. This gives the kids a stylish way to cinch their new storage shut, and adds an artisanal flair you can be smug about.
Unleashing your kids’ creativity on their Lego storage will make tidy-up time a blast. And with their help, you can craft custom solutions that keep all those little bricks in one place. Mostly. At least until next time!
FAQ – Answering Common Crafting Questions
So you want to turn your kid’s old t-shirts into Lego storage solutions, do you? Brace yourself for an onslaught of questions. The little cherubs are curious creatures and this craft project will unleash a torrent of ‘why’s, ‘how’s and ‘what if’s.
Why do we have to cut up my favourite t-shirt? Can’t we just use a bag from the shop? Well, of course you can buy pre-made storage solutions, but where’s the fun in that? Repurposing old clothes is an imaginative way to keep perfectly useful materials out of landfill. Plus, a customised creation will make your Lego-loving little one beam with pride.
How will my Lego not fall out the holes? Have no fear, the holes are only an inch wide – plenty small enough to keep all but the most determined of Lego pieces confined. You can make the holes even smaller if you prefer. The point is to thread ribbon through and cinch tight, creating a drawstring closure.
What if I don’t want a circle? Shapes are customisable! Trace whatever outline takes your fancy – square, rectangle or star. Let your mini-me go wild with the fabric markers to turn it into their own unique Lego storage solution.
How do I stop the ribbon from coming undone? Simply tie a double knot and – if your little one’s an escape artist – you can add a dab of glue for good measure. Or, get creative and attach a Lego brick, minifigure or other embellishment to the ends of the ribbon to prevent any untying antics.
What else can we make? The possibilities are endless! Felt pouches, cloth bags, bucket hats – if you can conceive it, you can create it. Raid the craft cupboard, unleash your imagination and happy crafting! With adult supervision, of course. Safety first where sharp implements and small parts are concerned.
Keeping the little ones busy with an engaging craft project is a sure-fire way to survive the school holidays with your sanity intact. And they’ll be so proud of their customised creation, they’ll want to play with their Lego for hours – giving you a well-earned rest!