Blimey, this sounds like a ripping adventure! Fancy crafting your own compass and steering a balloon-powered car? These brilliant DIY compass crafts will set your imagination racing across oceans and continents. Not to worry, young explorers – every expedition starts with a single step. Just fetch your crafting kit and muster your creativity. An entire world of discovery awaits!
First, magnetise a humble needle to make your own compass. With just a needle, paper and magnet, you can channel your inner Christopher Columbus. Next, fashion a paper plate into a bona fide compass rose to learn your directions. North, south, east and west – now you’ll never get lost on a treasure hunt! Finally, construct a balloon-powered cardboard car. Like a hot air balloon, it floats on a cushion of air in any direction you fancy.
Compass crafts open up new horizons for curious young minds. They reveal the mysteries of magnetism and teach the cardinal points that guide every voyage. So grab your craft supplies, put on your pith helmet and let your creativity steer you towards adventure! The whole world is ready and waiting to be explored, 140 characters at a time. Tally-ho!
Make Your Own Compass With Simple Materials
Have an adventure in your own backyard! Making a compass is a fun activity that teaches kids about magnetism and navigation.
Gather a few supplies and get started
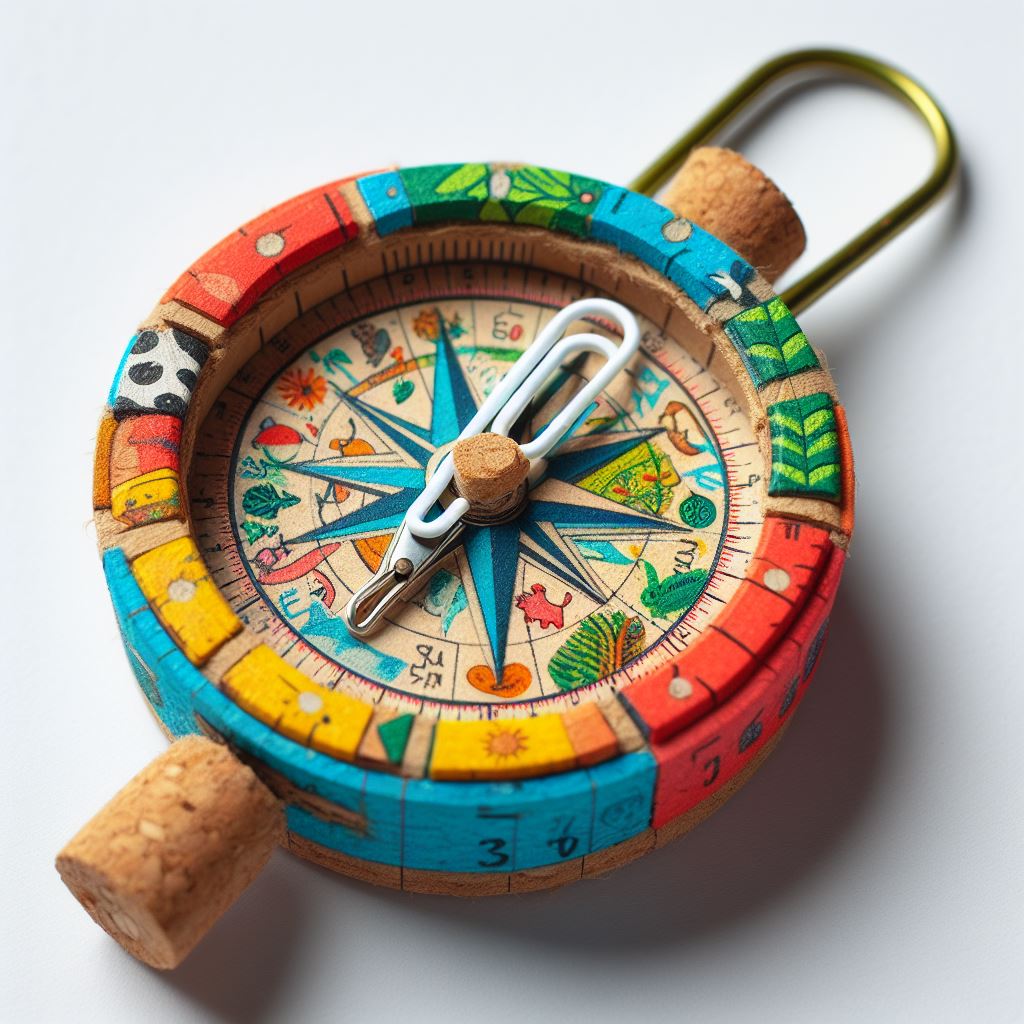
You’ll need a needle, pin, or nail; a cork or piece of Styrofoam; a bowl of water; and a strong magnet. First, stroke the needle along the magnet about 60 times in the same direction to magnetise it. Next, push the needle through the cork so it spins freely. Finally, place the cork in the bowl of water. Watch in wonder as the needle spins to align itself north-south!
Exploring how the compass works ignites curiosity. As the needle points north, discuss how compasses guide travel and help us understand direction. Making discoveries and solving mysteries is exciting for kids. They’ll be eager to test the compass and may even create treasure hunts for friends!
Compasses open up a world of adventure. After building a compass, embark on an expedition in the backyard. Look for signs of nature like birds, insects, and wildlife. Play make-believe and pretend to be explorers discovering uncharted lands. Set off on a quest following the compass to navigate. Where will it lead? Adventure awaits!
These activities spark imagination and a sense of wonder about the natural world. Kids gain an appreciation for navigation tools that have guided explorers for centuries. A simple compass craft can inspire young minds to get outside, make discoveries, and embark on thrilling adventures. The possibilities for exploration are endless! What will you discover?
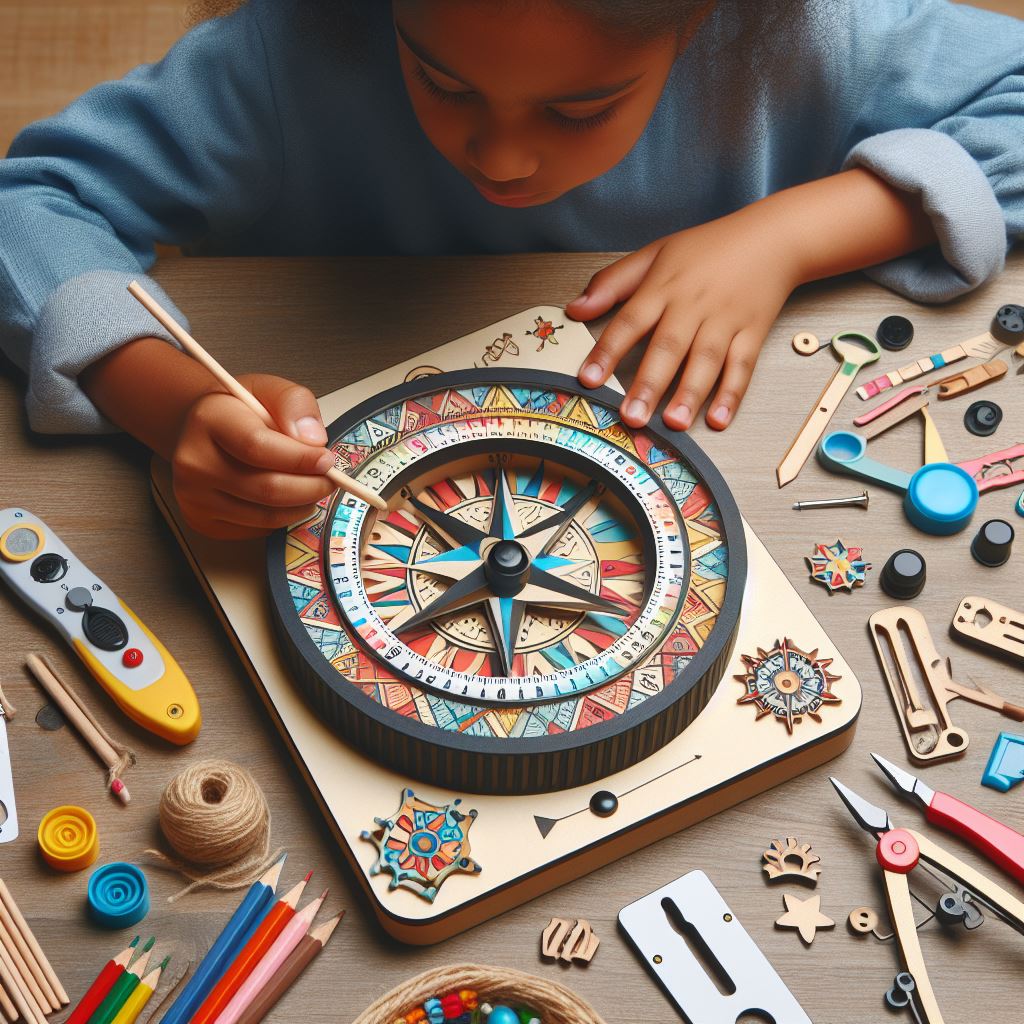
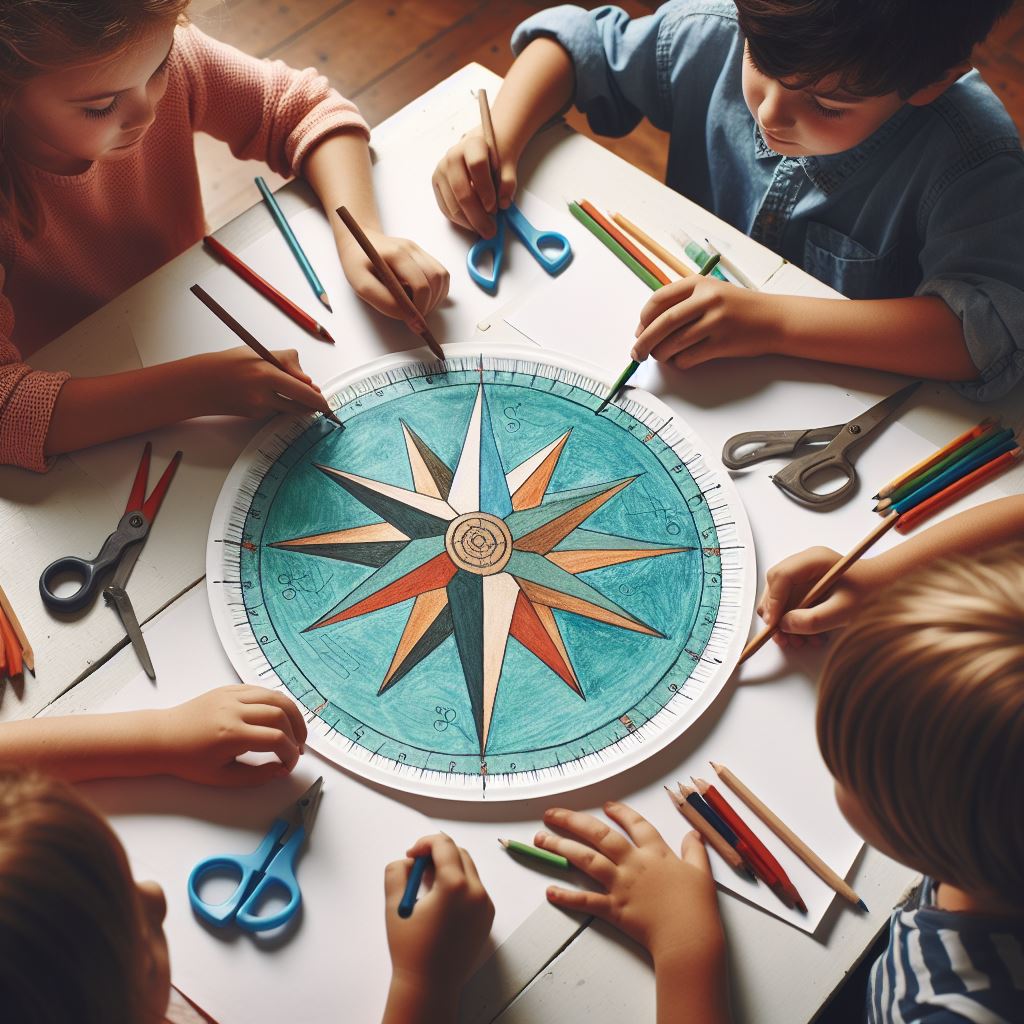
Fun Paper Plate Compass Craft for Kids
Let your little explorers embark on an adventure with this simple paper plate craft of a compass ! Materials Needed:
A paper plate, pen or marker, scissors, blue and white paint, red and yellow construction paper.
Instructions:
First, have the kids draw a compass rose right on the paper plate, marking N, S, E and W for the cardinal directions. Then, paint the rose in ocean blue and cloud white. Next, cut a needle shape from the red or yellow paper and attach it to the centre of the rose.
Now comes the fun part—spinning the plate to see which way the needle points! As the plate twirls, the needle will always point north. This teaches children about navigation and how compasses guide travellers. They’ll be imagining exciting voyages in no time!
Compass crafts spark curiosity about science and nature in little learners. This paper plate activity is perfect for elementary-aged kids and beyond. They can customise the plates by adding their own details to the compass rose or needle. Maybe some wave shapes around the edge to represent the sea, or their name at the top? The options are endless!
Get Exploring!
Once the plates are decorated, it’s time to put them to the test. Have the kids use their compasses to find ‘hidden treasure’ in the backyard or local park. Give them directions like “head south for 10 steps, then east for 5 steps.” They’ll learn how to follow compass bearings and find their way, all while having fun on an imaginary adventure.
Compass crafts teach children valuable skills in a hands-on way. They ignite curiosity about how the world works and inspire dreams of discovery. Most of all, activities like this paper plate compass craft bring kids and families together for learning and laughter. So grab some plates and get crafting—adventure awaits!
Build a Balloon-Powered Compass Car
Let your little explorers build their own compass car powered by balloons! This fun craft teaches kids about directionality and magnetism in an engaging hands-on way.
Gather the Materials
To make a balloon-powered compass car, you’ll need four balloons, a flat piece of cardboard, scissors, and tape. Look for a sturdy cardboard, like from a cereal box. Gather the rest of the supplies and find an open space to get crafting!
Prepare the Base
Cut four slits in the cardboard to fit the balloons through. Blow up the balloons halfway and secure them in the slits with tape. Your explorers now have a propulsion system ready for action!
Balloon Power
Have your kids blow into the balloons to fill them up and watch the cardboard car zoom across the floor. As the balloons inflate and deflate, the car will move in different directions. Observe how the car’s movement changes based on which balloons are inflated.
Kids will delight in this engaging craft that harnesses the power of balloons. While the compass car zooms around, discuss how compasses work to determine direction. Explain that the needle always points north to help guide explorers. This hands-on experience brings the magic of compasses and exploration to life for budding discoverers.
Your little adventurers will never forget the thrill of building their own balloon-powered compass car. Crafts like this one spark curiosity about how things work in a fun, memorable way. Set kids’ imaginations free with this DIY adventure! 🧭
COMPASS TYPES
The Standard Compass
The most common compass is the standard compass, consisting of a magnetic needle that points North. When the needle settles, you can determine which direction you’re facing and navigate accordingly. Standard compasses are extremely useful for hiking, camping and basic navigation.
The Prismatic Compass
For more precise readings, a prismatic compass uses a prism to magnify the compass housing, making it easier to read and more accurate. Prismatic compasses are ideal for orienteering, surveying and other activities requiring precise directional information.
The Gyrocompass
Gyrocompasses use a fast-spinning disc to detect the Earth’s rotation, rather than a magnetic needle. Gyrocompasses are not affected by magnetic interference, allowing for very accurate readings, especially at sea. Many ships and aircraft use gyrocompasses for navigation.
Digital Compasses
Modern technology has produced digital compasses which display directions electronically. Digital compasses may use magnetic sensors, gyroscopes or both. Some digital compasses can provide additional information like coordinates, bearing, elevation and more. Digital compasses are very convenient but rely on batteries, so for emergencies a standard compass is good to have as a backup.
Exploring the different types of compasses helps us appreciate how useful and ingenious these tools are. From the simplicity of a standard compass to the technology of digital compasses, there are many ways to find your way using nature’s clues and human ingenuity. So pack your compass, let your sense of adventure lead the way, and discover what’s over the horizon! The world is open and waiting to be explored.
More Exciting Compass Craft Ideas to Try
Once your little explorers have mastered the basics, it’s time for some advanced compass crafts! These hands-on projects will boost their creativity and understanding of navigation. Make a Sundial Compass
Tracing the sun’s path across the sky, sundials are one of the oldest navigation tools. Kids can create their own sundial compass to tell time and determine directions. All you need is a circular base, a pointed gnomon, and a way to mark the hours. As the sun moves, the gnomon’s shadow points to the current time and the cardinal directions. This fun, educational craft teaches kids about solar navigation in an engaging way.
Design a Nature Compass
For an eco-friendly craft, have children collect natural materials like sticks, leaves, and stones to make a nature compass. Glue the sticks onto a circular base in the shape of a compass rose. Next, attach the leaves or stones to represent the cardinal directions. Kids will love this opportunity to get creative with natural elements. Once complete, they can use their nature compass to navigate the backyard or a local park.
Engineer a Compass Robot
Budding engineers will enjoy constructing a robot that uses a compass to navigate. Provide craft materials like cardboard tubes, wheels, straws, and compasses for kids to design their own compass robot. Help them think through how the compass will guide the robot’s movement. This challenging, open-ended craft boosts problem-solving skills as children work to build a functioning navigation system for their robot.
Compass crafts unlock a world of possibilities for learning and adventure. By making sundials, nature compasses, and compass robots, kids gain valuable hands-on experience with navigation tools used by explorers for centuries. Their creativity and curiosity will be ignited as they embark on imaginary voyages guided by the compasses they crafted themselves. Adventure awaits—now get out there and explore!
FAQs – How to Make a Compass at Home
Materials Needed
For this enjoyable craft, you’ll need a few simple supplies: a needle, magnet, bowl of water, and paper. Grab your tools and let’s get exploring!
Magnetise the Needle
Take a needle and stroke it along a magnet about 60 times in the same direction. This activates the needle’s magnetic properties so it can detect the Earth’s magnetic north pole.
Create the Compass Base
Fold a square piece of paper in half diagonally to make two triangles. Unfold the paper and repeat the same fold on all four corners. Roll two triangles into tubes to make the arms of the compass. Roll another tube for the centre section. Secure with tape or glue.
Assemble and Float
Place the needle on a bottle cap and float it in the bowl of water. Watch in wonder as the needle spins and eventually aligns itself to point north-south! The end of the needle that points north is the end you magnetised.
How Does It Work?
A compass works by detecting the Earth’s magnetic field. As the needle moves, it eventually settles into the orientation of this field, with the north end of the needle pointing roughly north. The bowl of water allows the needle to spin freely until it settles into the proper alignment.
FAQs
How accurate is a homemade compass? Homemade compasses can detect the general north-south orientation but may be off by a few degrees. For precise navigation, use an official compass.
What else can I use instead of a needle? Any small, magnetic metal object will work, such as a staple, safety pin, or wire. The key is that the material can be magnetised.
Do I have to use a bottle cap? No, you can use any small, buoyant object to float the needle, such as a cork, leaf, or small piece of wood. The key is that the needle has freedom of movement to spin in the water.
Can I use any magnet? Stronger magnets, such as rare earth magnets, work better for magnetising the needle. Weaker magnets may not fully magnetise the needle, reducing accuracy.
Exploring the world starts with curiosity. Making your own compass ignites that curiosity through discovery and science. So embark on an adventure—there’s a whole world out there to explore!


[…] not embark on an adventure with compass crafts? These engaging projects not only teach kids about direction and navigation but also spark their […]