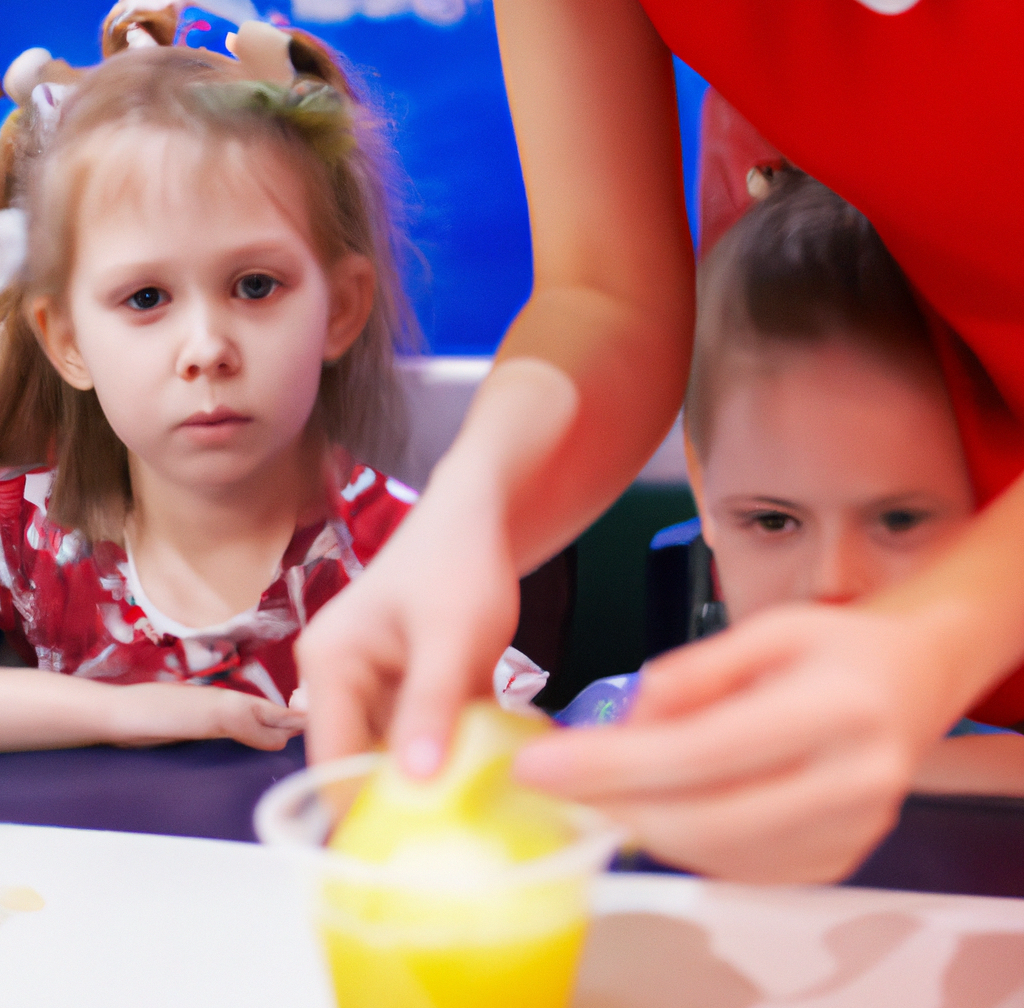
You’re in for a treat! This easy DIY slush syrup recipe is the perfect solution to help you and your little ones cool off on a sweltering summer’s day. Not only is this recipe incredibly simple—with just a few basic ingredients and a dash of teamwork—but it’s also an excellent opportunity for parents and kids to spend quality time together. Engaging in activities like this not only creates delicious, refreshing slushies but also fosters communication, creativity, and bonding between you and your children.
Taking part in hands-on projects like making slushies at home teaches your kids valuable skills such as following instructions, measuring ingredients, and collaborating as a team. These shared experiences can leave lasting memories and help build confidence in your children as they see the results of their hard work. Moreover, when you set aside time for fun, interactive activities, you’re also demonstrating the importance of balancing work and play—a lesson that extends far beyond the kitchen.
Creative activities with binding time is the way to move forward on making a creative mind
If you’re keen to explore more creative ways to engage with your children, try this activity as well. Discover how you can turn board games into a valuable learning tool in our post on How to Teach Financial Literacy Through Board Games. By integrating playful learning with everyday activities, you can inspire a lifelong love of learning and financial responsibility in your kids.
So, gather your ingredients, invite your little ones into the kitchen, and get ready for a delightful culinary adventure. Enjoy the process, relish the sweet, icy treat you create together, and embrace the joy of shared moments that make every day a little brighter.

Introduction: The Joys of Slushies on a Hot Summer Day
The Joys of Slushies on a Hot Summer Day
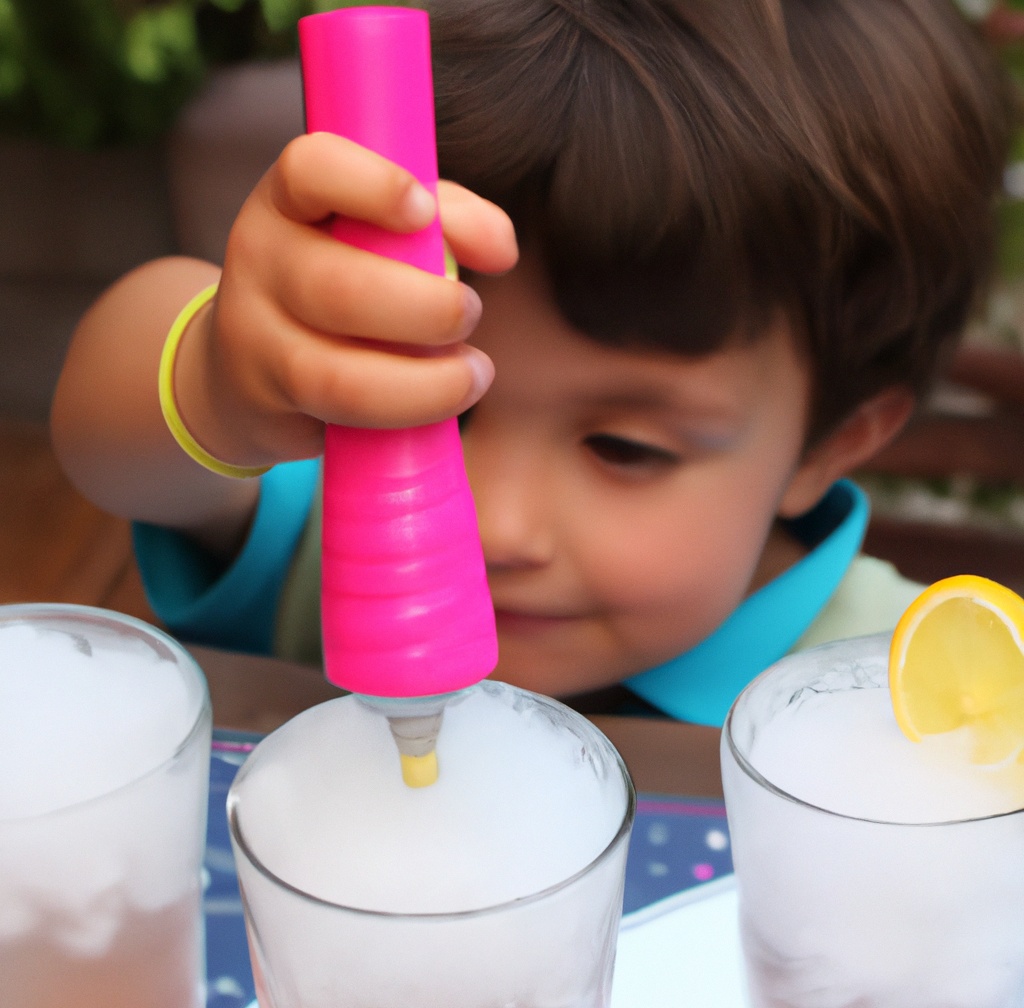
Nothing beats a slushie on a sweltering summer day! The icy, syrupy deliciousness is refreshing and fun for both kids and kids at heart. Making your own slushie syrup at home is a perfect summer project for families and so easy to do.
You’ll only need a few simple ingredients: sugar, water, fruit juice or fruit puree, and citric acid or lemon juice. Combine the ingredients, heat until the sugar dissolves and then chill before adding to your slushie machine or blender. Homemade slushie syrup allows you to control the amount of sugar and create your own custom flavours. Think mango madness, berry bliss or tropical paradise!
Fond memories of childhood
I have fond memories of slushie socials as a kid. All the neighbourhood children would gather on the hottest days of summer break for an afternoon of games, laughter and of course, slushies! We would fill our cups with crushed ice and vibrant syrups, mixing flavours and competing to see who could achieve the perfect slushie consistency. The best part was staining our tongues with different colours as we tasted each other’s concoctions.
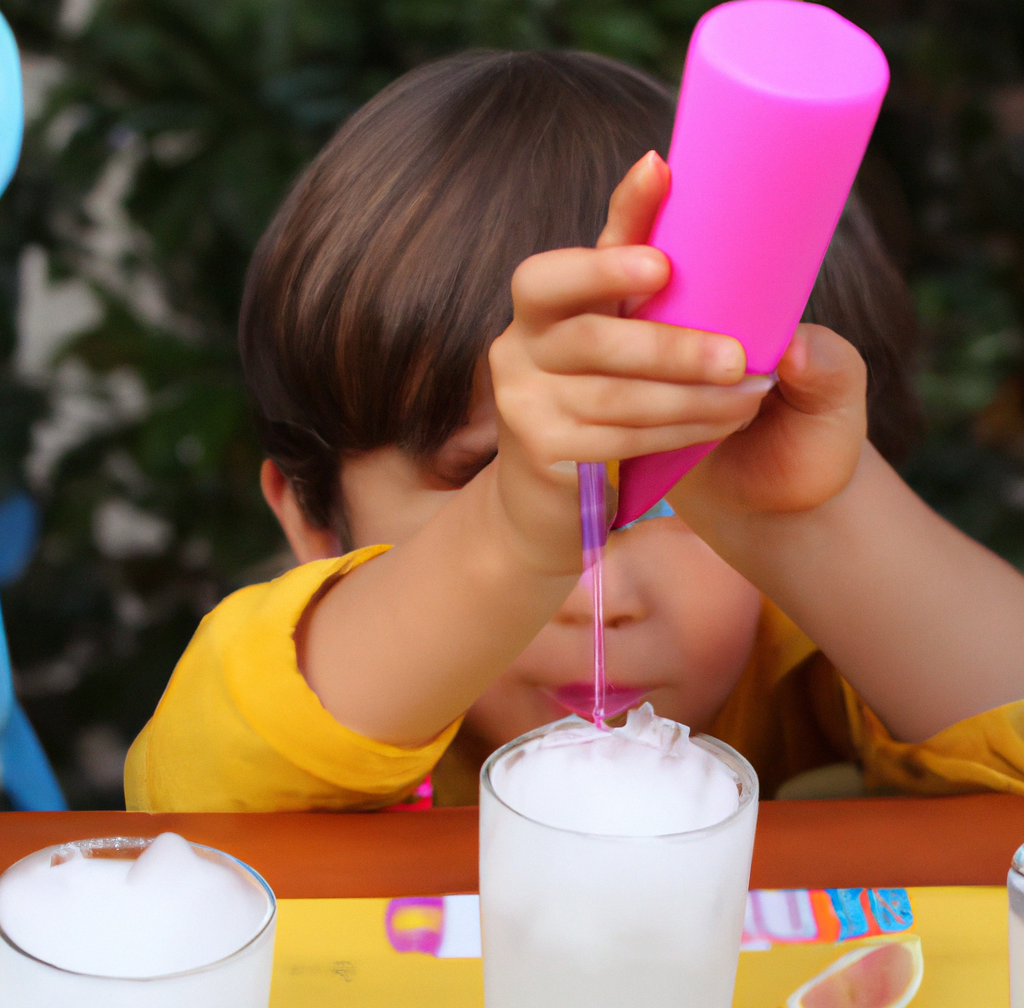
Making slushie syrup and slushies at home is a perfect way for kids and parents to bond over a fun summer activity. Let your little ones help measure, pour and mix the ingredients. They’ll be so proud of the finished product. Add the syrup to crushed ice in a blender for quick slushies or use a slushie machine for an authentic experience. However you choose to make them, slushies are guaranteed to bring some chill summer fun. Navigate here to find out some scientific activities to create young inventors for the future.
DIY Slush Syrup Recipe: Simple Ingredients Needed
Summer is the perfect time for making memories with the kids, and a DIY slushie syrup is an easy, budget-friendly activity guaranteed to delight little ones and big kids alike.
Ingredients
All you’ll need is:
- 2 cups sugar
- 2 cups water
- 1/2 cup lime or lemon juice
- Fruit puree or fruit-flavoured drink powder (optional, for flavour and colour)
Instructions
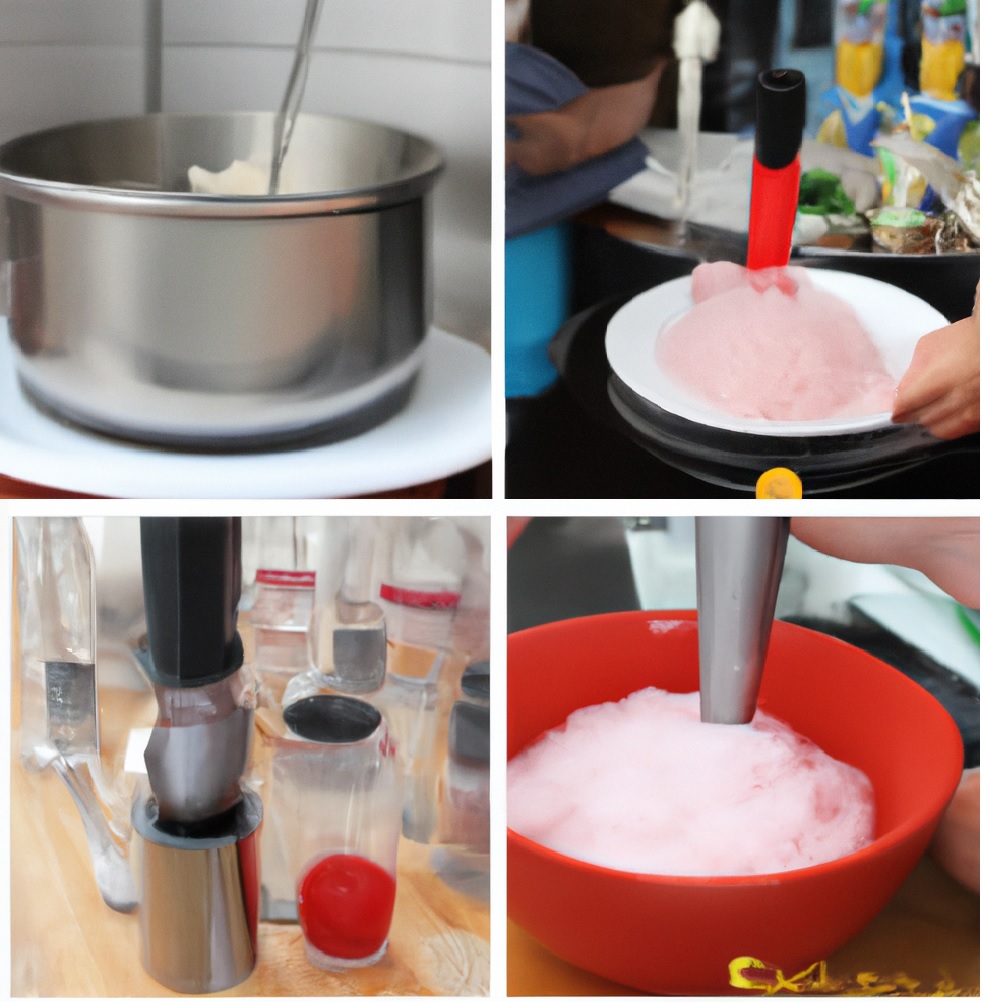
- Combine the sugar and water in a saucepan and heat, stirring frequently, until the sugar dissolves.
- Remove from heat and add the lime or lemon juice. Add fruit puree or drink powder if using for extra flavour and vibrant colour.
- Allow to cool, then chill in the refrigerator for at least 2 hours before adding to a slushie machine or blender.
- If you don’t have a slushie machine, simply fill a blender with crushed ice and add the chilled syrup. Blend until slushy, adding more ice for a frostier slushie.
- Pour into glasses and top with whipped cream, sprinkles, maraschino cherries or fresh berries if desired. Enjoy your DIY slushies on a hot summer day!
The kids will have a blast customising their slushies and coming up with new flavour combinations. Why not make it a slushie-themed party and set up a topping bar so everyone can create their perfect icy treat? Homemade slushies are a perfect way to bond with the family and make cherished summer memories. Give this recipe a go – your taste buds will thank you!
Step-by-Step Instructions for Making Slush Syrup
Making your own slushie syrup is a fun, easy DIY project perfect for kids and parents alike on a hot summer day. Once you have the syrup ready, just add it to crushed ice and you’ll be enjoying homemade slushies in no time!
Gather the Ingredients
For a simple slushie syrup, you’ll need:
- 1 cup sugar
- 1 cup water
- Food colouring (optional)
- Flavouring extract (optional): try raspberry, lemon or orange
Make the Syrup
- Combine the sugar and water in a saucepan and heat, stirring frequently, until the sugar has dissolved.
- Bring to a gentle boil, then reduce heat and simmer for 3-5 minutes until slightly thickened.
- Remove from heat and add food colouring and flavouring extract (if using). Mix well.
- Allow to cool, then pour into a bottle or jar and refrigerate. The syrup will last up to 2 weeks chilled.
Crush Some Ice and Mix It In!
When you’re ready for slushies, simply fill glasses halfway with crushed ice (a food processor or blender works great if you don’t have an ice crusher). Pour the chilled syrup over the top, mix well and enjoy! For an extra special treat, top with whipped cream and sprinkles.
Making slushie syrup and slushies together is a perfect way for kids and parents to bond over a fun summer activity. I have fond memories of attending slushie-themed birthday parties as a child where we would create our own wild and wacky flavour combinations. Your kids are sure to love experimenting with different extracts, food colorings and toppings to make each slushie uniquely their own. Staying cool never tasted so good!
Tips for Involving Kids in the Slush Syrup Making Process
Making slushy syrup is the perfect opportunity to bond with your kids and cool off on a hot summer day. Get the little ones involved in the process—they’ll have a blast and gain valuable cooking skills along the way!
Gather the Ingredients
Have your kids help gather the simple ingredients: sugar, water, fruit juice or puree, and citrus zest (optional). Let them measure and pour everything into a saucepan. Supervise the stovetop, but have them stir the mixture as it simmers.
Pick the Flavour
Get input on the flavour of syrup you want to make. Some kid-friendly options include:
- Strawberry lemonade
- Blueberry
- Cherry
- Grape
You can also create your own signature flavour by combining juices and zests. My kids love experimenting!
Blend It Up (Optional)
If you have a blender or food processor, let your kids run the show by adding the cooled syrup and crushed ice. Show them how much ice to add for the perfect slushy consistency. Blend in short pulses, scraping down the sides in between, until slushy. Pour into glasses and top with whipped cream and sprinkles if desired!
Chill and Enjoy!
Have your kids help pour the cooled syrup into bottles or jars and chill before enjoying. When ready to make slushies, fill glasses with crushed ice and pour 3-4 tablespoons of syrup over top. Stir and enjoy! The syrup can last up to 2 weeks refrigerated.
Making memories in the kitchen with your kids is so rewarding. Slushy syrup is an easy, fun treat that you’ll want to make all summer long! I have fond memories of attending a slushy-themed birthday party as a kid where we got to create our own flavour combinations. Your kids will surely remember the time you made slushies together for years to come!
Optional Extras: Customise Your Slushie Flavours
Once you have your basic slushie syrup made, the fun really begins—customising the flavours! Kids will have a blast coming up with their own signature slushie creations. Here are some of our favourite add-ins to inspire your inner mixologist:
Fruit puree
Add a few spoonfuls of fruit puree like strawberry, mango or blueberry for an instantly fruity slushie. You can find fruit purees in the baby food aisle or make your own. Berries work great for a vibrant colour and tangy kick.
Chocolate or caramel sauce
For a decadent treat, swirl in some chocolate or caramel sauce. Start with 2-3 tablespoons and mix well, then taste and add more as needed. The sauce will harden as it mixes into the icy slush, creating a chocolatey or buttery ripple effect.
Crushed cookies or candy
Crushed Oreos, toffee bits, mini M&Ms or peanut butter cups are always a hit. Fold in a 1⁄4 to 1⁄2 cup of your favourite mix-ins after blending for a crunchy sugar rush.
Mint or citrus extract
Add a few drops of natural extract like peppermint, lemon or lime for a refreshing zing. Start with 5-10 drops, blend and then add more extract 1 drop at a time until it reaches your desired flavour.
Whipped cream
Top your slushie with a billowy cloud of fresh whipped cream. Sweetened or unsweetened, it’s a perfect accompaniment to balance out the icy treat underneath.
The options for customising your slushies are endless. Get creative and think of your favourite ice cream flavours or milkshake mix-ins for inspiration. Pour your slushies into fun glasses, top them off with whipped cream and sprinkles galore, then gather friends and family to enjoy your cool summer creations together! Childhood memories in the making, one brain-freezing sip at a time.
Are you looking to create more magical moments for your kids as special bonding activities? Read this fairy garden project where you can magically inspire your kids
Turning Slush Syrup Into Slushies Without a Machine
Nothing beats the heat like an icy cold slushie on a hot summer day. The best part is, you don’t even need an expensive slushie machine to make this refreshing treat at home. With a few simple ingredients, you can whip up a batch of slush syrup in minutes and turn it into slushies whenever you want.
To make the slush syrup, you’ll need:
- 2 cups sugar
- 1 cup water
- Food colouring (optional)
- Flavouring (optional): fruit juice, fruit puree or extract
Combine the sugar and water in a saucepan and heat, stirring frequently, until the sugar has dissolved. Remove from heat and allow to cool completely. Add food colouring and flavouring of your choice. Store the syrup in an airtight container in the refrigerator for up to 1 month.
When you want slushies, simply pour 1 part syrup to 2 parts crushed ice and mix well in a blender, food processor or slushie machine on high speed until slushy. For an alcohol-free kid-friendly option, use fruit juice in place of some or all of the water when making the syrup.
I have fond memories of attending slushie-themed birthday parties as a kid. All the kids would gather around the slushie machine, eagerly awaiting their turn to operate the handle and fill their cups with brightly coloured slush. The slushies never lasted long before being gulped down, leaving us all with brain freeze and stained tongues, but also big smiles. Making slushies at home with your own kids or friends is a perfect way to bond over a fun, refreshing treat and create new memories together while cooling off. Go ahead, get creative with different flavours and food colorings – the possibilities are endless!
Using a Blender or Food Processor for Slushies
Who doesn’t love a slushie on a hot summer day? The icy, fruity goodness is refreshing and fun. While slushie machines can be expensive, you can easily make slushies at home with just a blender or food processor and this easy DIY slushie syrup recipe.
Ingredients:
- 2 cups sugar
- 1 cup water
- Food colouring (optional)
- 1/2 cup fruit juice (orange, grape, cherry, etc.)
Instructions:
- Combine the sugar and water in a saucepan and heat over medium, stirring frequently, until the sugar has dissolved.
- Bring to a boil, then reduce heat and simmer for 3 minutes. Remove from heat and let cool.
- Add food colouring one drop at a time, mixing well after each drop, until you reach your desired shade. For a brighter slushie, use 6-8 drops. For a more pastel shade, use only 2-4 drops.
- Add the fruit juice and mix well. Your slushie syrup is ready!
- For slushies without a machine, simply pour the syrup over crushed ice in a blender or food processor and blend until slushy. Add more ice for a thicker slushie.
- For an extra special treat, top your slushies with whipped cream and fresh or maraschino cherries!
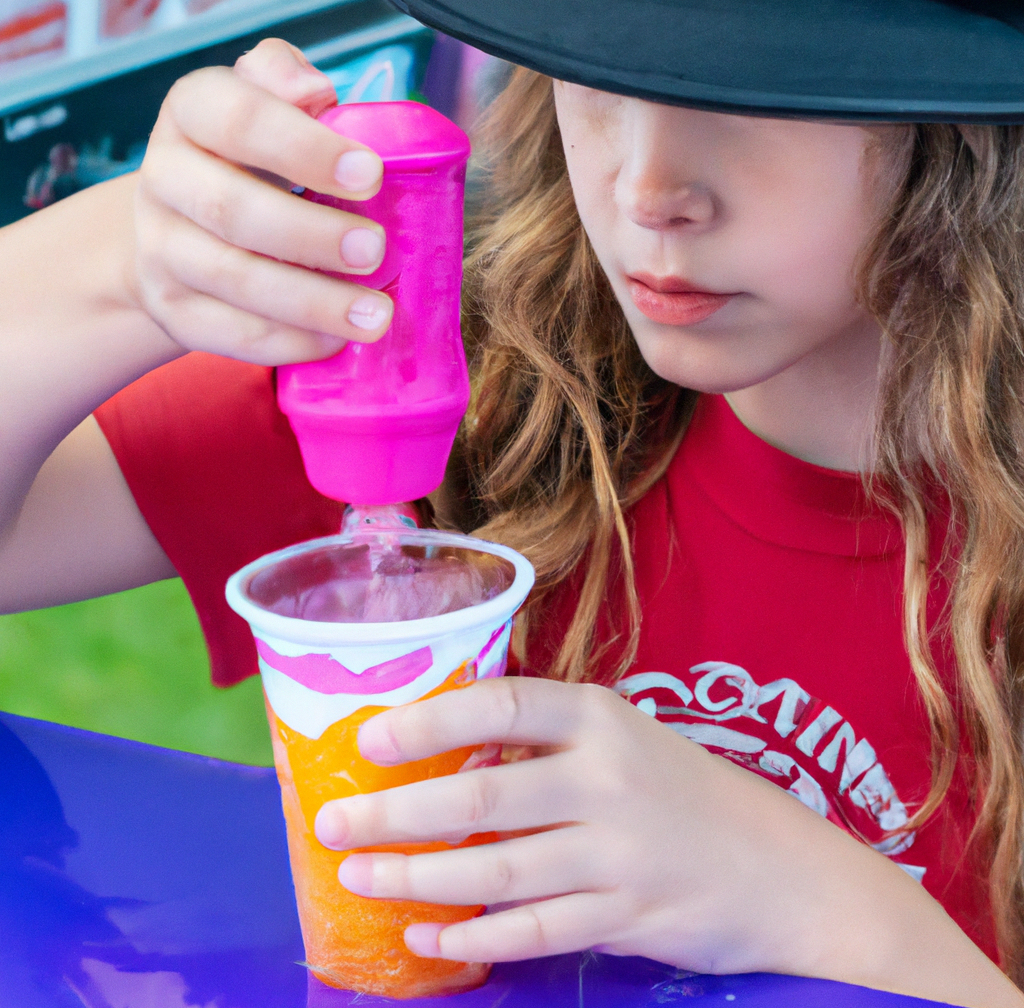
The options for flavour combinations are endless. My kids love cherry-banana, blue raspberry and mango madness! Making slushies at home is a perfect activity for kids and such an enjoyable way for families to bond on a hot summer day. Why not invite some friends over for a slushie party – summer fun for everyone!
Fun Ideas for Slushie-Themed Summer Parties
A slushie party is the perfect way to chill out on a hot summer day! Gather some friends and family, whip up a batch of easy DIY slush syrup, and get blending. You’ll be sipping icy fruit slushies in no time.
Ingredients for Slush Syrup
For a crowd-pleasing slush syrup, you’ll only need a few simple ingredients:
- 2 cups sugar
- 2 cups water
- Food colouring (optional)
- Fruit juice or fruit puree (optional)
Combine the sugar and water in a saucepan and heat, stirring frequently, until the sugar has dissolved. Allow to cool, then add food colouring and fruit juice/puree if using. Store in the refrigerator for up to 2 weeks.
Crush Some Ice and Get Blending
If you have a slushie machine, simply add the slush syrup and crushed ice and blend until slushy. For a DIY option without a machine, blend a few cups of crushed ice and slush syrup in a high-powered blender like a Vitamix until smooth and slushy. You can also use a food processor, though you may need to scrape down the sides more often.
Fun Slushie Add-Ins
jazz up your slushies with these tasty add-ins:
- Fresh or frozen fruit like berries, mango and banana
- Marshmallows
- Whipped cream
- Crushed cookies or candy
- Gummy bears
I have fond memories of slushie parties as a kid. On hot summer days, my best friend and I would bike down to the corner store, buy bags of crushed ice and slush syrup to make our own slushies. We’d spend hours experimenting with different flavours and mix-ins, chatting and laughing in her backyard. DIY slushies are still just as fun—give it a try and make some memories with the kids in your life this summer!
FAQ: Answering Common Slush Syrup and Slushie Questions
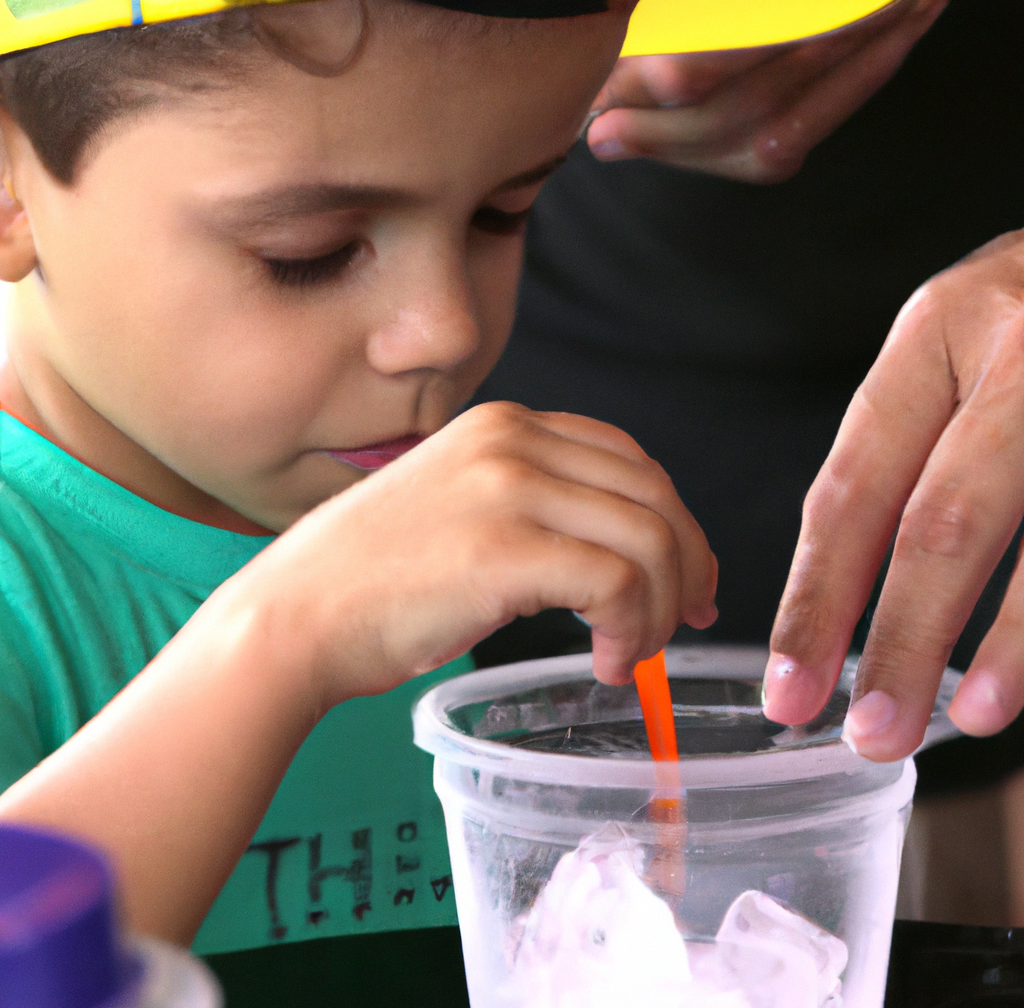
Making your own slush syrup is a fun summer activity for both kids and parents. Once you have the syrup ready, simply add it to crushed ice for an easy DIY slushie without needing an expensive machine. This recipe is so simple even little ones can help with minimal mess. If you don’t have an ice crusher, you can use a food processor or high-powered blender to get snow cone-like ice chips.
What ingredients will I need?
The ingredients for homemade slush syrup are basic and budget-friendly. You’ll need:
- Sugar (white granulated)
- Water
- Fruit juice or fruit puree (your choice of flavour! We like cherry, blueberry or lemonade)
- Optional: food colouring (if you want different colours)
That’s it! No artificial flavours or preservatives needed. You can customise the amounts of sugar, water and juice to your taste and the fruitiness you want. Start with equal parts of each and adjust from there.
How long will the syrup last?
The slush syrup can be refrigerated for up to 2 weeks. Simply reheat before adding to crushed ice and enjoy! You can also freeze the syrup for up to 3 months. When ready to use, thaw completely and give it a good stir before adding to your ice.
Do I really need a slushie machine?
Absolutely not! A slushie machine is convenient but not essential. You can easily make slushies at home with crushed ice and the homemade syrup. Simply blend ice cubes in a food processor or high-powered blender until snow cone-like. Mix the ice with your slush syrup, 1 part syrup to 2 parts ice. Blend briefly until combined and slushy. Pour into glasses and enjoy with straws and spoons!
What’s your favourite slushie memory?
One of my favourite summer memories is attending a slushie-themed birthday party as a kid. The hosts had made a rainbow of slush syrups and set up stations so we could mix and match colours and flavours with crushed ice. By the end of the party, we were all hopped up on sugar and laughing at our slushie-stained tongues and lips! A perfect way to cool off on a hot day and make lasting memories. I hope you and your little ones will create some slushie memories of your own this summer with this easy DIY recipe!
Creating Our Own Delicious Homemade Slushie Syrup: A Personal Journey
Making your own DIY slushie syrup is the perfect summer project for kids and parents alike. Not only will you have a deliciously sweet treat to enjoy on a hot day, but the process of creating it together can be a wonderful bonding experience.
Gather the ingredients
For this simple recipe, you’ll only need a few basic ingredients: sugar, water, food colouring (optional), and flavouring (optional). Use granulated sugar, and for the flavouring consider fruit juice, fruit puree or extract. You really can’t go wrong!
Mix it up
Combine the sugar, water and any flavourings or food colouring in a saucepan and heat, stirring frequently, until the sugar has dissolved. Let the mixture cool, then pour into bottles or jars and chill in the refrigerator. Your syrup will last for several weeks.
Crush it!
Now comes the fun part – making your slushies! Fill glasses with crushed ice, then pour the chilled syrup over top. If you don’t have an ice crusher or slushie machine, simply put some ice cubes in a resealable plastic bag and smash with a hammer or mallet. Pour the crushed ice into glasses and top with your homemade syrup.
Get creative
Once you’ve mastered the basic recipe, try creating different flavour combinations. Berry, tropical fruit and candy-inspired flavours work great. You can also adjust the amounts of sugar, water and flavourings to your taste. Why not host a slushie party and set up a topping bar so guests can customise their own drinks?
Making memories one slushie at a time, a DIY slushie syrup project is guaranteed to bring kids and parents together for an enjoyable, refreshing experience. Why buy expensive slushies when you can easily whip up your own delicious, homemade versions? A perfect cool-off for hot summer days, slushies become that much more special when you craft the syrup yourself. Go on, give it a try – your taste buds will thank you!


[…] and what better way to beat the heat than with a refreshing DIY treat? Creating your own slush syrup for kids is not only fun but also allows you to control the ingredients, ensuring a healthier option for […]