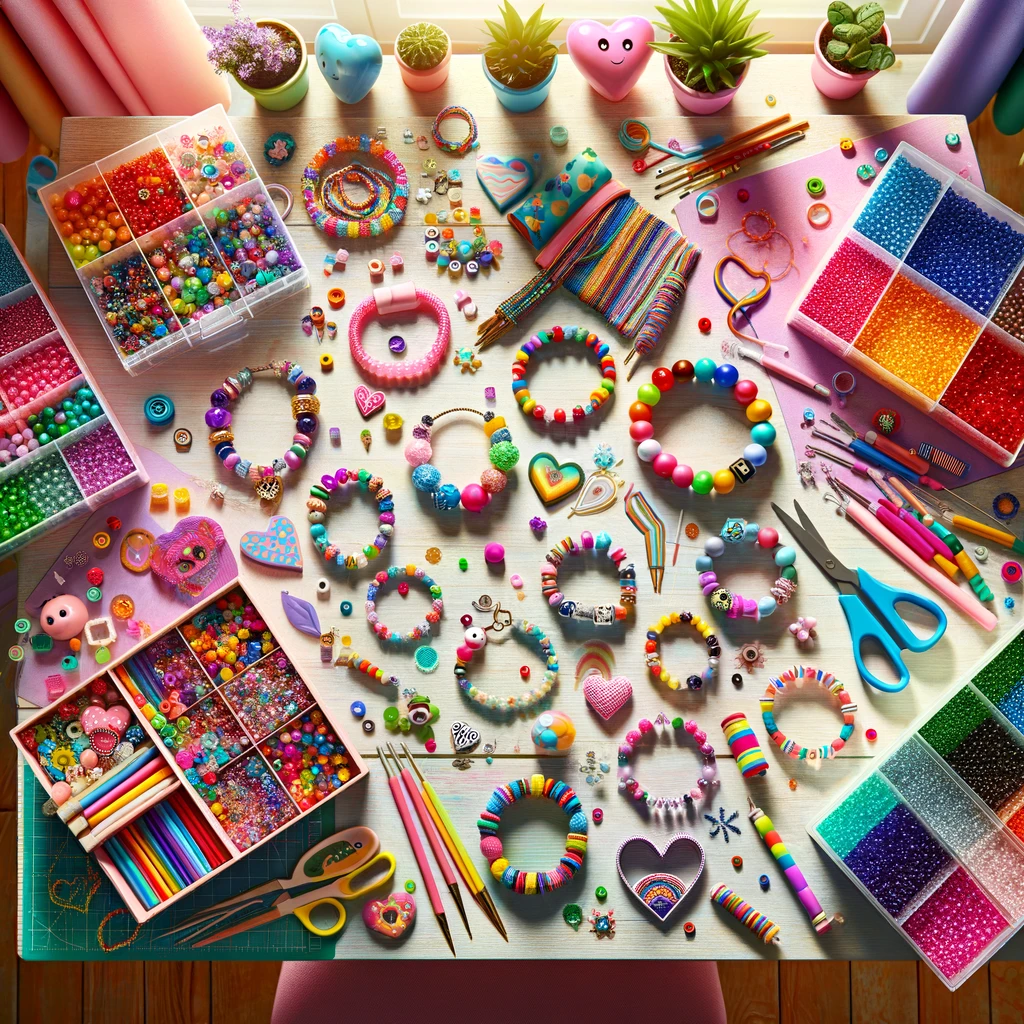
Creating children’s bead bracelets is a fun and engaging activity that not only fosters creativity but also enhances fine motor skills. This guide will walk you through the steps to create beautiful, personalized bead bracelets that kids will love. We’ll cover everything from selecting the right materials to designing and stringing the bracelets, along with some tips for making the activity educational and enjoyable.
Choosing Materials
Beads: The first step in creating bead bracelets is selecting the beads. Opt for colorful, non-toxic beads made of plastic, wood, or glass. Consider various shapes and sizes to add interest and texture to the bracelets.
Stringing Material: Elastic cord is ideal for children’s bracelets as it is durable and easy for kids to take on and off. Choose a thickness that fits through your beads’ holes.
Tools: You will need a pair of scissors for cutting the cord, and a bead organizer can be helpful for keeping beads sorted.
Designing the Bracelet
Color Scheme: Let children choose their color palette or theme. Encourage them to think about patterns, such as alternating colors or creating random designs.
Adding Charms: Including a charm or two can make the bracelet special. Choose lightweight charms appropriate for children and ensure they can be securely attached.
Sizing: Measure the child’s wrist to ensure a comfortable fit. Typically, a bracelet size of 5-6 inches works for most young children.
Stringing the Bracelet
Prepare the Workspace: Set up a clean, flat surface with all materials within reach. A tray can help contain the beads.
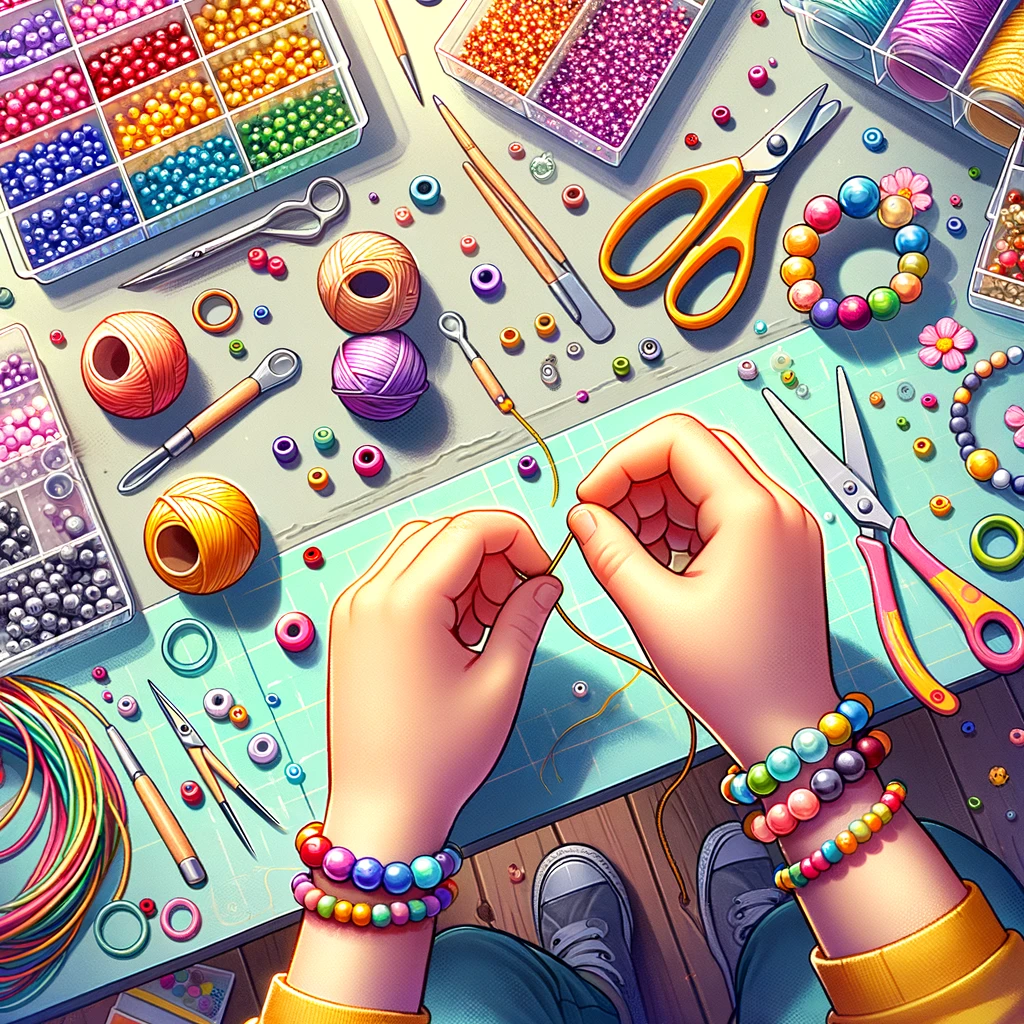
Cutting the Cord: Cut a piece of elastic roughly 10-12 inches long. This extra length makes it easier to tie off the bracelet.
Threading the Beads: Show children how to thread beads onto the cord. They can follow a pattern or arrange them randomly. A small piece of tape on one end of the cord can prevent beads from slipping off.
Adding a Charm: If using a charm, thread it to the middle of the pattern or wherever the child prefers.
Finishing the Bracelet
Checking the Fit: Before tying off, ensure the bracelet fits comfortably around the child’s wrist. Adjust if necessary.
Securing the Knot: Tie a surgeon’s knot (or a simple double knot) to secure the beads. Pull tightly to ensure the knot is close to the last bead but still allows some flexibility.
Hiding the Knot: Thread the ends of the cord back through a few beads on either side of the knot, if possible. Trim any excess cord.
Safety and Maintenance
Safety Tips: Always supervise children, especially young ones, as beads can be a choking hazard. Regularly inspect the bracelets for wear and tear to prevent breaking and lost beads.
Cleaning: Teach children to care for their bracelets. Most can be cleaned with mild soap and water, but ensure they are thoroughly dried to prevent damage, especially for wooden beads.
Making It Educational
Counting and Patterns: Use bracelet-making to teach counting and recognize patterns. This can be an excellent tool for early mathematics skills.
Color Recognition: Discuss different colors and shades as children pick beads, enhancing their understanding of color.
Fine Motor Skills: Handling small beads helps improve dexterity and hand-eye coordination, crucial for early development.
Start Your bead bracelet Moment
Making bead bracelets is not just an arts and crafts activity; it’s a developmental tool that brings fun and learning together. It encourages creativity, teaches problem-solving, and can even be a social activity for children and parents alike. So, gather your materials and let the creativity flow in crafting unique bead bracelets that children will cherish and enjoy wearing.


[…] nostalgic memories of happiness, silliness and joy that last well beyond the day. Engaging in interactive and personalised activities, whether playing games, doing crafts or opening presents together, make the experience […]