Curious Minds Ask: Why Do Some Things Float?
Children are natural explorers — always dropping toys into the bathtub or tossing leaves into puddles. But have you ever stopped to ask why some objects float while others sink?
This common observation is packed with scientific potential. The floating and sinking experiment is a simple, mess-free way to introduce children to density, buoyancy, and scientific thinking — all using things you already have at home.
Looking for more beginner-friendly science topics? Visit our STEM Activities Library for printable experiments and water-based learning fun.
The Science Behind Floating and Sinking (Made Simple)
Before diving in, let’s make the science kid-friendly:
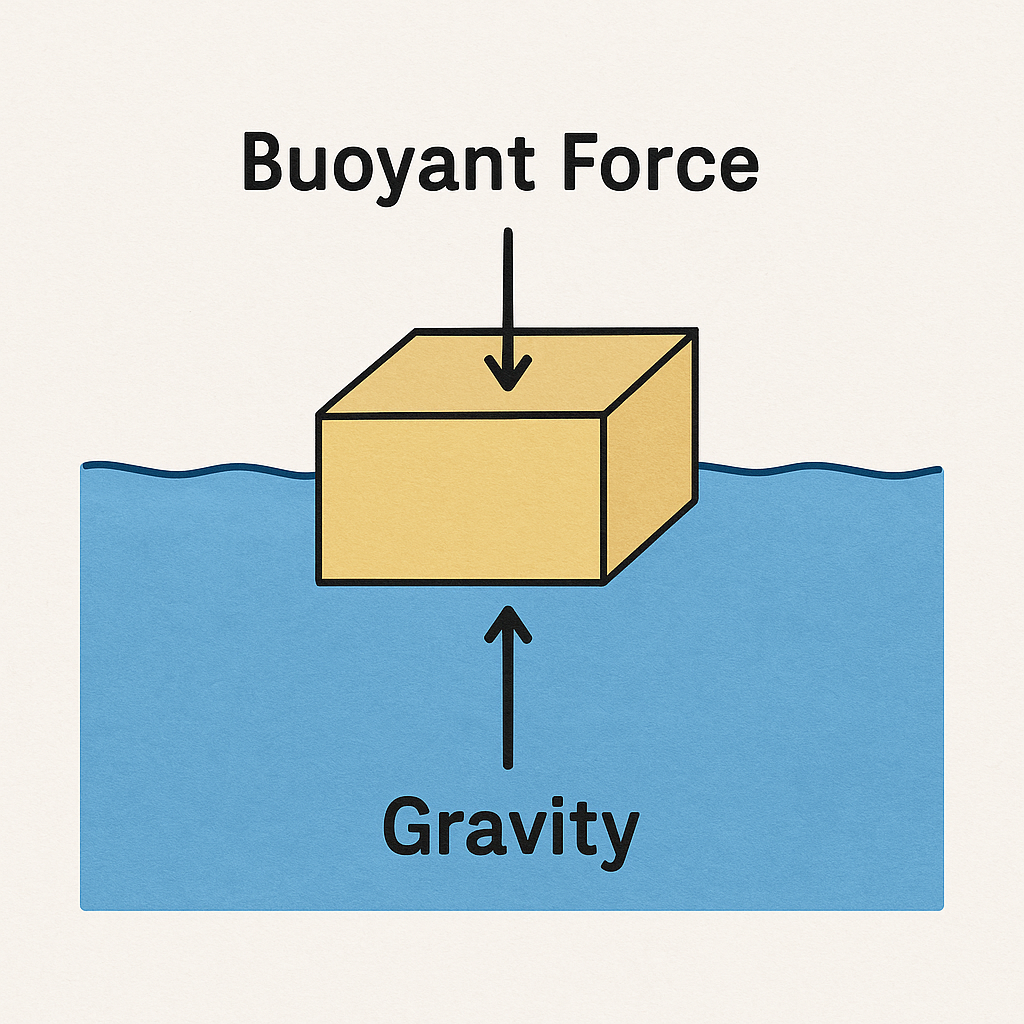
- Buoyancy: Water pushes upward against objects. If the push (upward force) is stronger than the object’s weight, it floats.
- Density: If an object is packed tightly with material (like metal), it sinks. If it has more air (like a sponge), it floats.
- Weight ≠ Sinking: A heavy object like a watermelon might float, while a small one like a marble sinks — it’s all about the balance between weight and volume.
Want to go deeper?
- When an object enters water, it displaces some water. If the object displaces enough water to counter its own weight, it floats. This is the basic idea of Archimedes’ Principle.
- The shape of an object affects how water pushes back. A flat shape spreads out weight and helps float. A compact shape may not.
This activity builds a foundation for understanding physics, engineering, and material science in a playful, low-pressure way.
Learn more about related concepts in our post The Language of Wind: 6 Traditional Ventilation Buildings.
What You’ll Need
No need for fancy tools! Grab a few everyday items:
- A washing-up bowl, large container, or bathtub
- Towel for clean-up
- Household objects to test:
Coin, apple, sponge, slice of bread, bar of soap, stick, bottle cap, tennis ball - Printable “Sink or Float” Chart (available in the download section below)
- Crayons or pens for recording
Optional: stopwatch, foil, plasticine, marbles for extra challenges
Step-by-Step: Let the Testing Begin!
Step 1 – Talk & Predict
Lay out all the objects in front of your child. Let them guess:
“Will this float or sink?”
Use our Sink or Float Prediction Chart to mark their answers.
Ask questions like:
- “What makes you think this one will float?”
- “Have you seen something like this in water before?”
Step 2 – Experiment!
Fill the washing-up bowl or tub with water (about ⅔ full). Let your child gently place each item in the water and observe.
Reminder: avoid splashing or dropping objects too hard.
Let them record whether their prediction was correct.
Step 3 – Group the Results
After testing everything, divide the items into two groups:
Floated
Sank
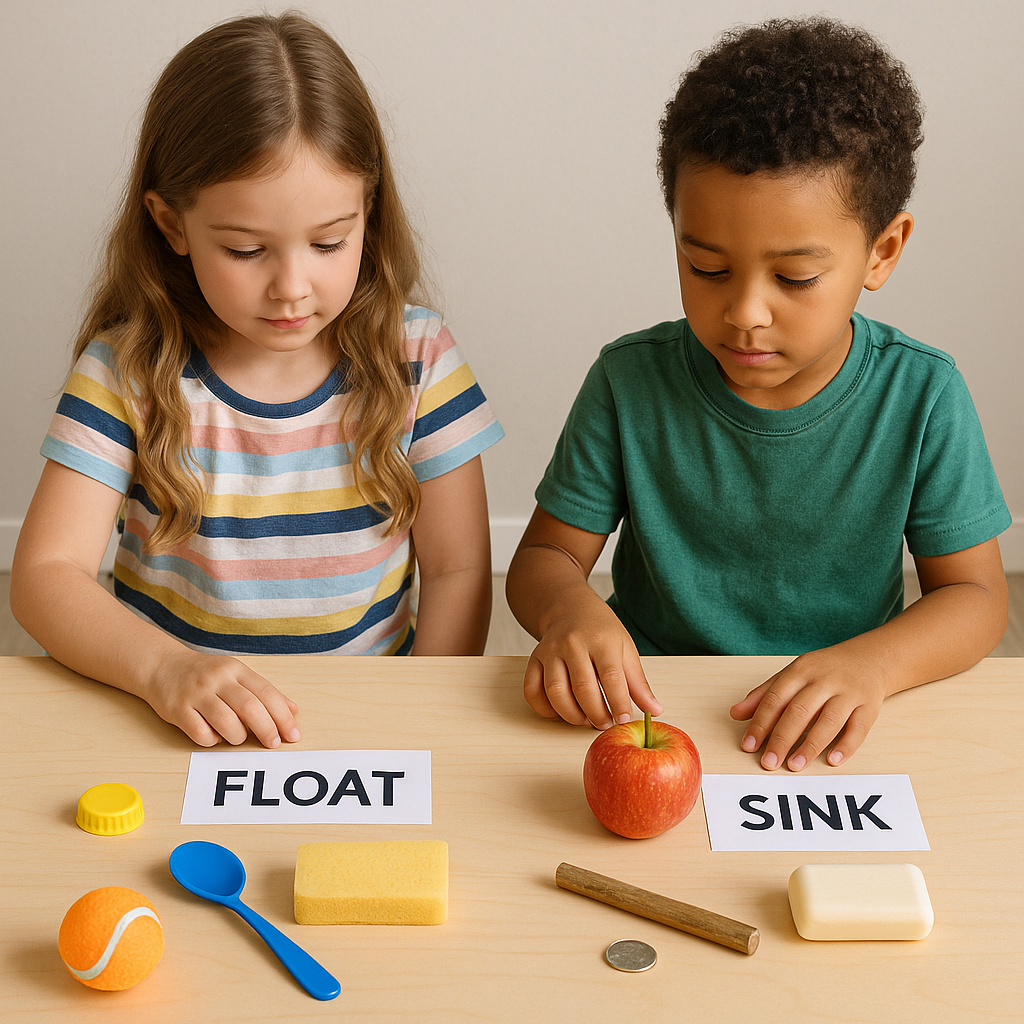
What do the floating items have in common? Are they light? Hollow? Made of certain materials?
Step 4 – Explore Further
Try these variations to deepen the learning:
- Shape Test: Use foil to create different shapes — a flat sheet vs. a crumpled ball. Which one floats?
- Material Swap: Use objects of the same size but different materials (wood, plastic, metal).
- Weight Challenge: Place marbles inside a plastic container. How many does it take before it sinks?

Try a related challenge with our DIY Balloon Rocket Experiment.
More Ways to Play: Creative Variants
- Sink or Float Race: Use a timer to see how fast certain items sink. Which sinks quickest?
- Mystery Box Guessing Game: Kids reach into a covered tub and guess if an unseen object will sink or float.
- Will It Sink with Water Inside?: Use a bottle with a cap on, then open it and try again.
- Tally It Up!: Have children vote before testing. Keep classroom-wide predictions on a poster.
- Mini Engineering Challenge: Build the strongest floating boat out of sponge, tape, or foil. Test how much weight it can carry!
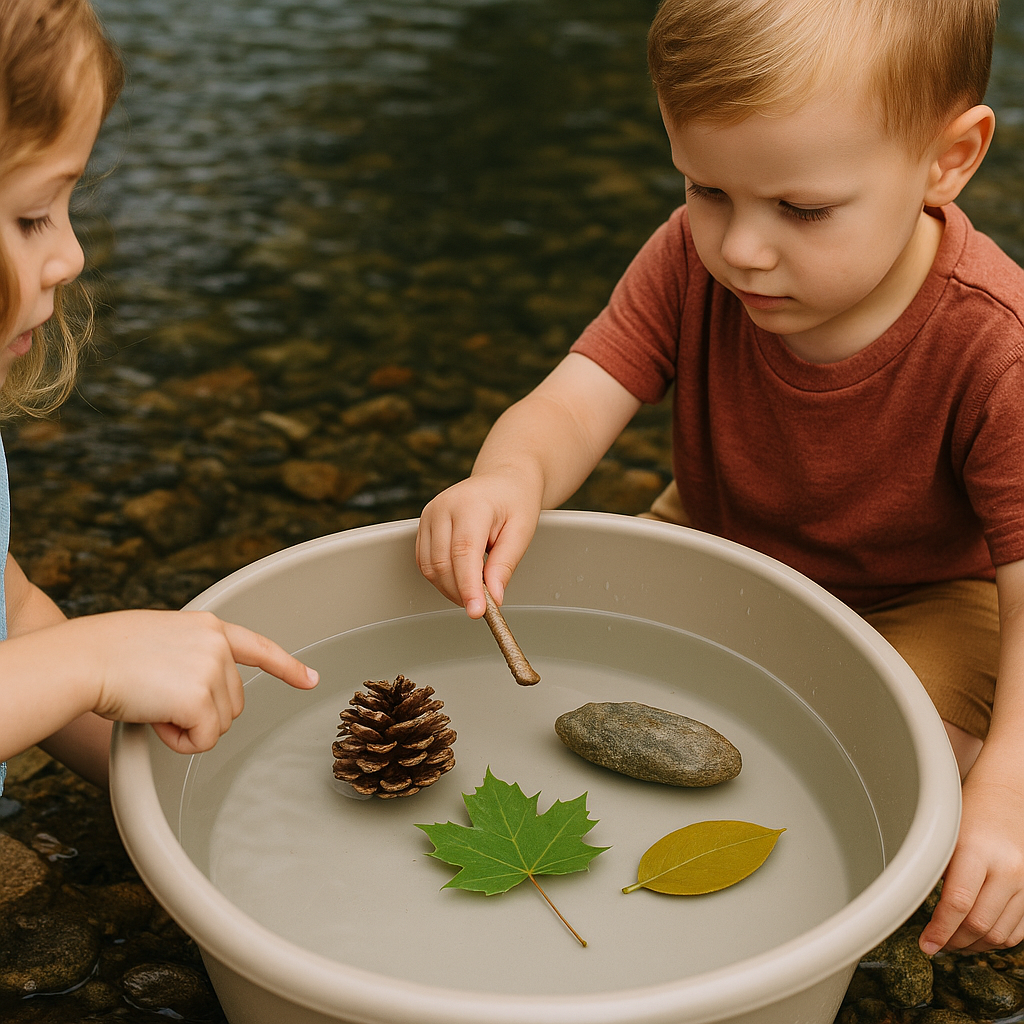
- Outdoor Nature Version: Collect leaves, pebbles, feathers, and twigs during a park walk, then test them.
Cross-Disciplinary Extensions
- Language Arts: Write a short story about an object learning to float. “The Pebble Who Wanted to Sail.”
- Visual Art: Draw your floating experiments or decorate a paper boat that floats in your test bowl.
- Math: Count how many objects float vs sink. Turn results into a simple bar graph.
- Geography: Compare what floats in saltwater (add salt to water) vs fresh water.
- Ethics or Philosophy: Ask “Why do we explore?” or “Can floating teach us anything about helping others?”
Floating & Sinking Printable Pack (PDF)
This printable kit includes:
- Sink or Float Prediction Chart
- Object Sorting Poster (Great for group work)
- “Why It Floats” Science Explanation Sheet
- STEM Boat Design Challenge Sheet
- Junior Water Explorer Award Certificate
How to Use:
Print on A4 cardstock or paper. Use clipboards to allow kids to walk and test around a classroom or bathroom space. Let them decorate their charts as part of reflective learning. Laminate pages for reuse.
Download the Full PDF Kit Here
Science Is Everywhere
Science isn’t confined to labs or classrooms — it’s in every splash, every question, every bathtub adventure. By turning floating and sinking into a game, you’re giving children a lifelong curiosity about how the world works.
Want more hands-on science fun?
Explore our STEM Activities Library and Water Science Ideas to keep the fun going!


[…] Floating and Sinking Experiments for Kids […]
[…] Floating and Sinking Science Kit […]