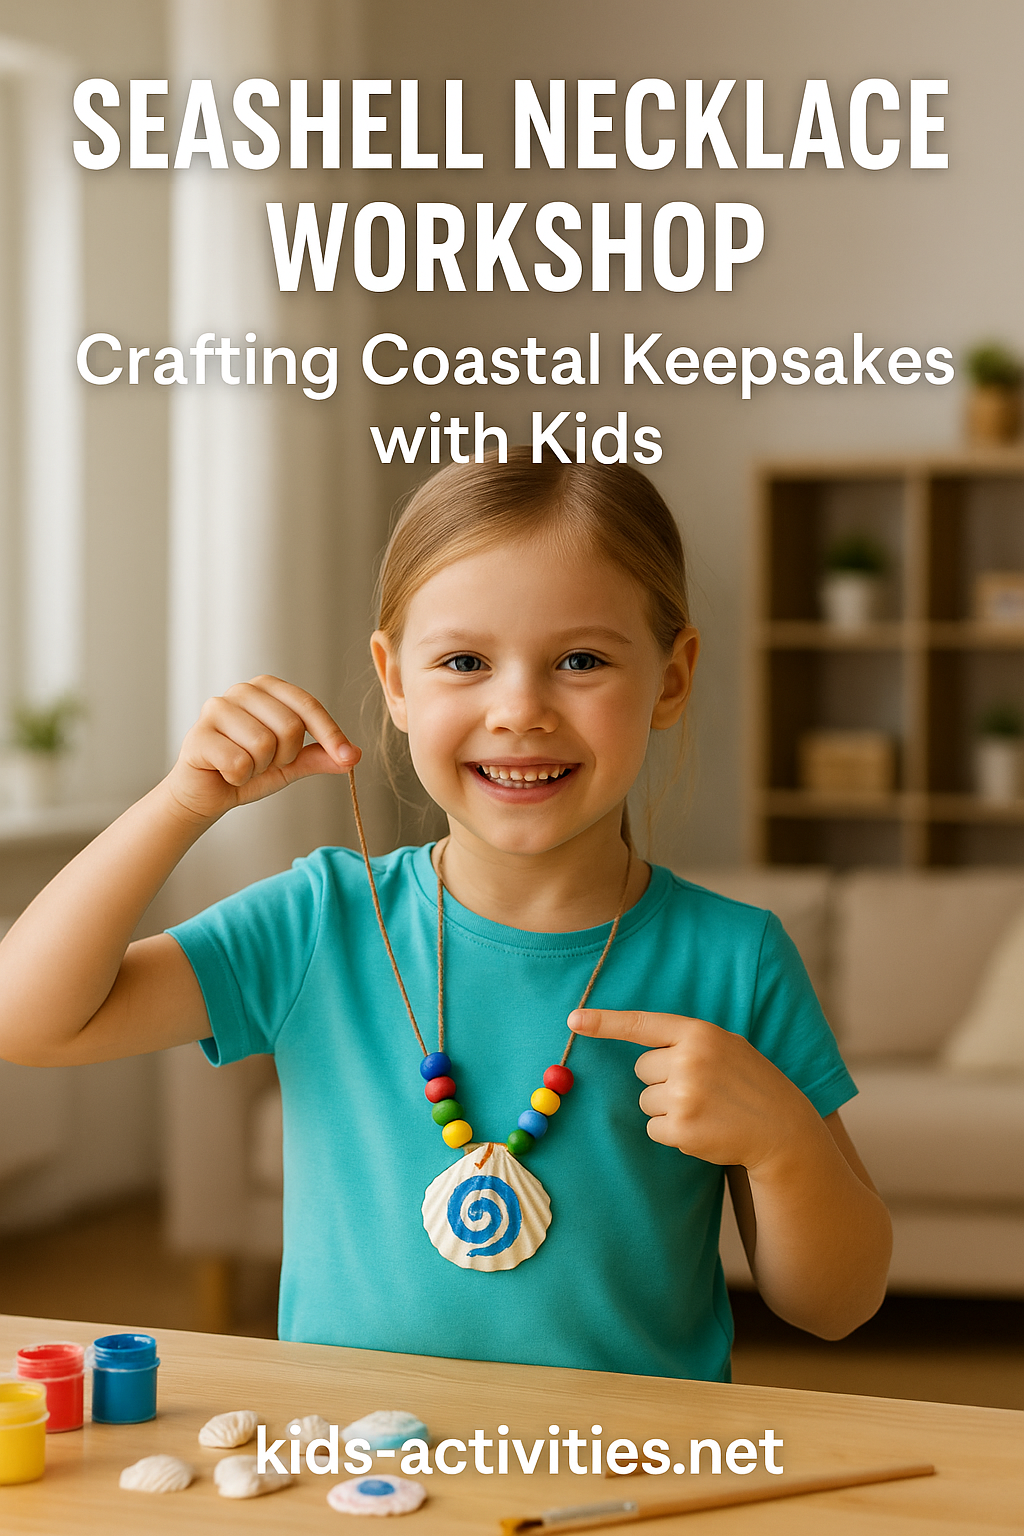
Seashell Necklace Workshop: Crafting Coastal Keepsakes with Kids
Why Seashell Crafts Spark Joy in Kids
A day at the beach always leaves behind memories—and a handful of seashells tucked into pockets and bags. But what happens to those treasures once you’re home? Instead of letting them collect dust, why not turn them into keepsakes?
Making a seashell necklace is more than just a rainy-day craft—it’s a hands-on, meaningful project that combines creativity, fine motor skills, and storytelling. Kids love wearing something they made, especially when it reminds them of waves, sunshine, and sandy toes.
The Learning Behind the Craft
Seashell necklace-making weaves together multiple early childhood development areas:
- Fine Motor Skills: Stringing, threading, and knotting challenge coordination.
- Creative Expression: Each necklace is unique—shell shapes, paint, beads, and string colours allow open-ended creativity.
- Environmental Awareness: Conversations about where shells come from open doors to talk about marine life, tides, and ocean conservation.
- Storytelling: Kids often remember where they found each shell—making this a wearable memory map.
Related Read: Ocean-Themed Activities for Young Explorers
How to Make a Seashell Necklace
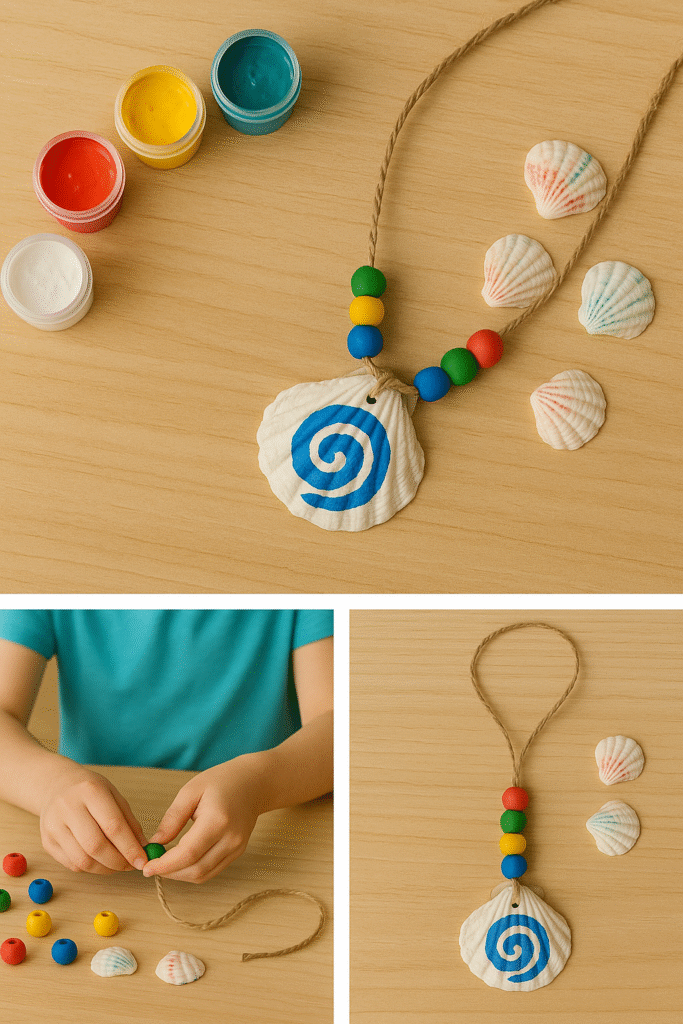
Materials You’ll Need:
- A selection of clean, dry seashells (with small holes if possible)
- Natural twine, yarn, or waxed cotton cord
- Acrylic paints and paintbrushes (optional)
- Small wooden or plastic beads
- Toothpicks or skewers (for poking if needed)
- A push pin or small drill (with adult supervision)
- Scissors and safety clasps (optional)
Tip: Use shells with a natural hole near the top, or gently drill one using a hand drill or push pin under adult supervision.
Step 1: Clean and Prep Your Shells
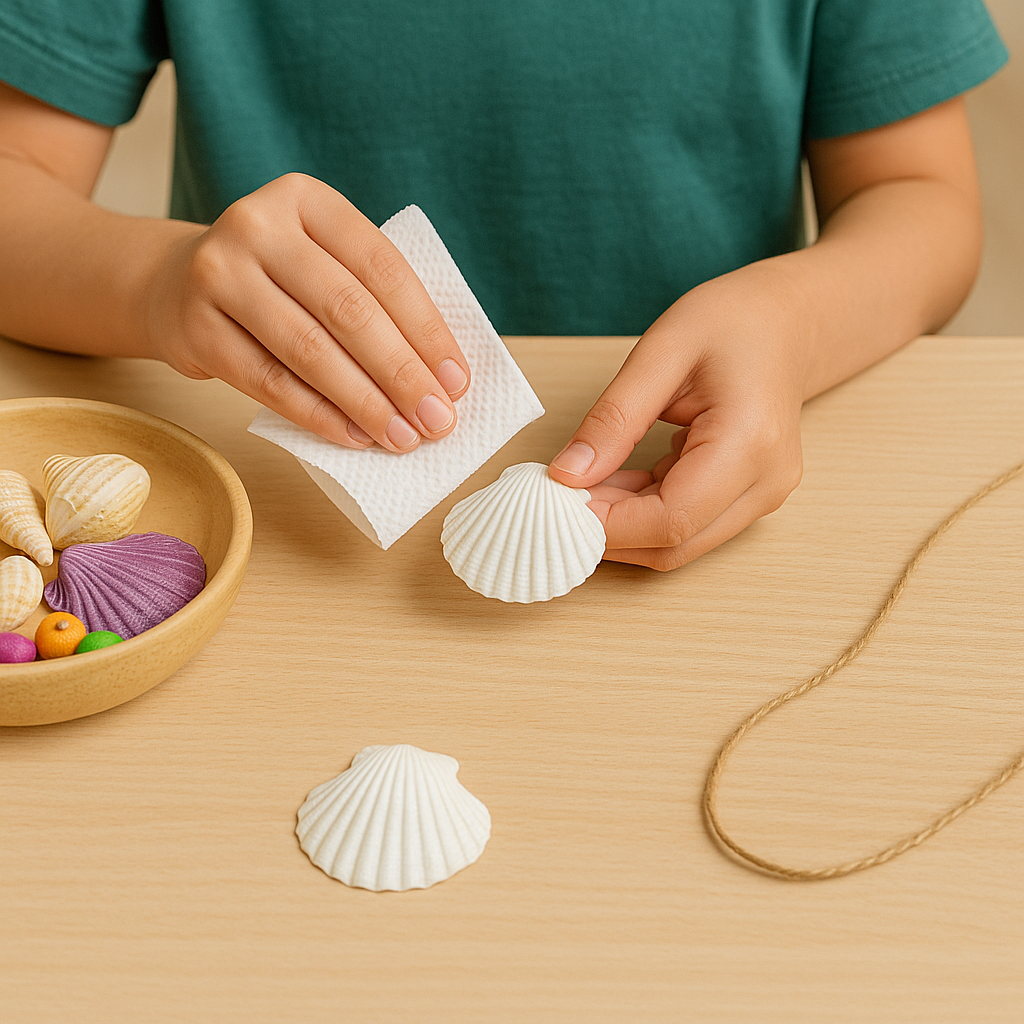
Before painting or stringing, wash the shells with warm soapy water and let them dry completely. This helps paint stick better and prevents any beach odour later on.
Step 2: Decorate Your Shells (Optional)
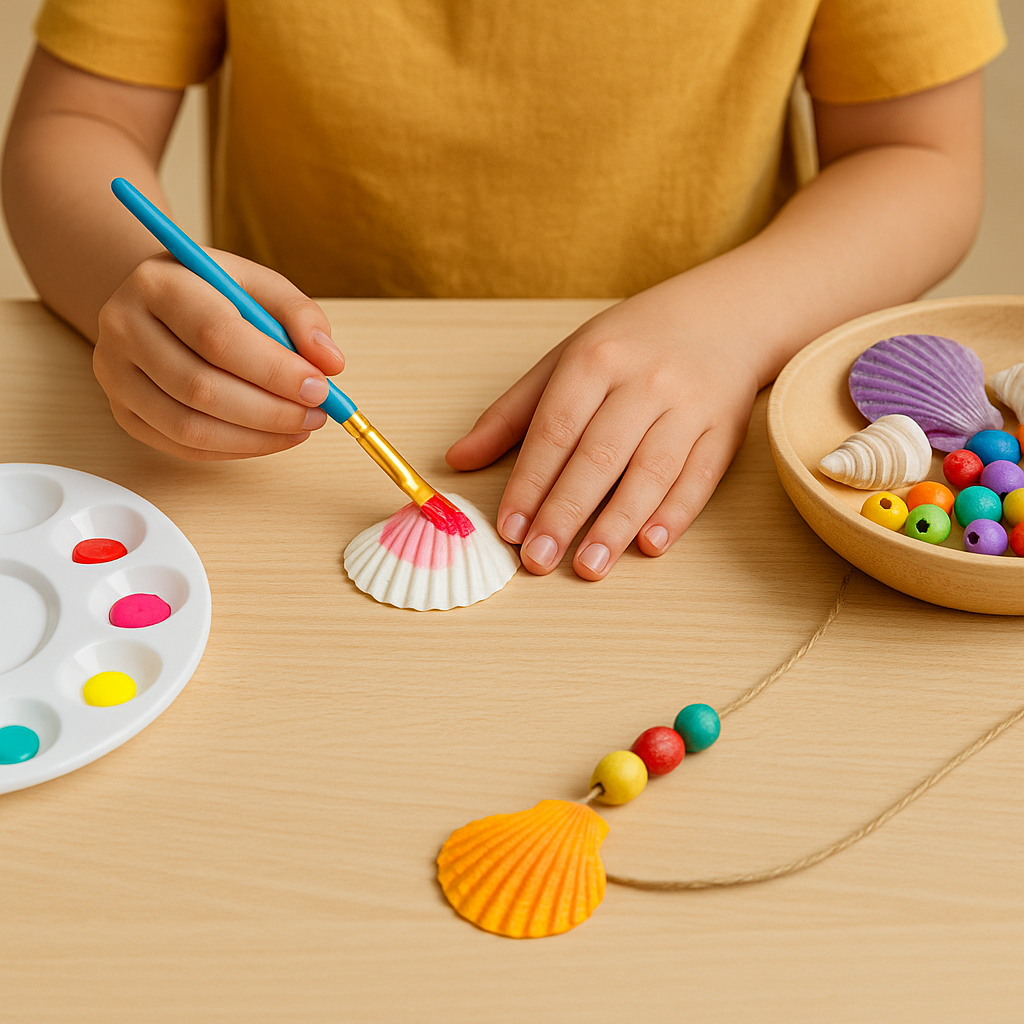
Let kids paint the shells using bright acrylics or even metallic markers. Encourage:
- Patterns like stripes or spirals
- Nature motifs like waves, suns, or fish
- Initials or symbols with a personal story
Let paint dry for at least 30 minutes before moving on.
Step 3: Add a Hole (if Needed)
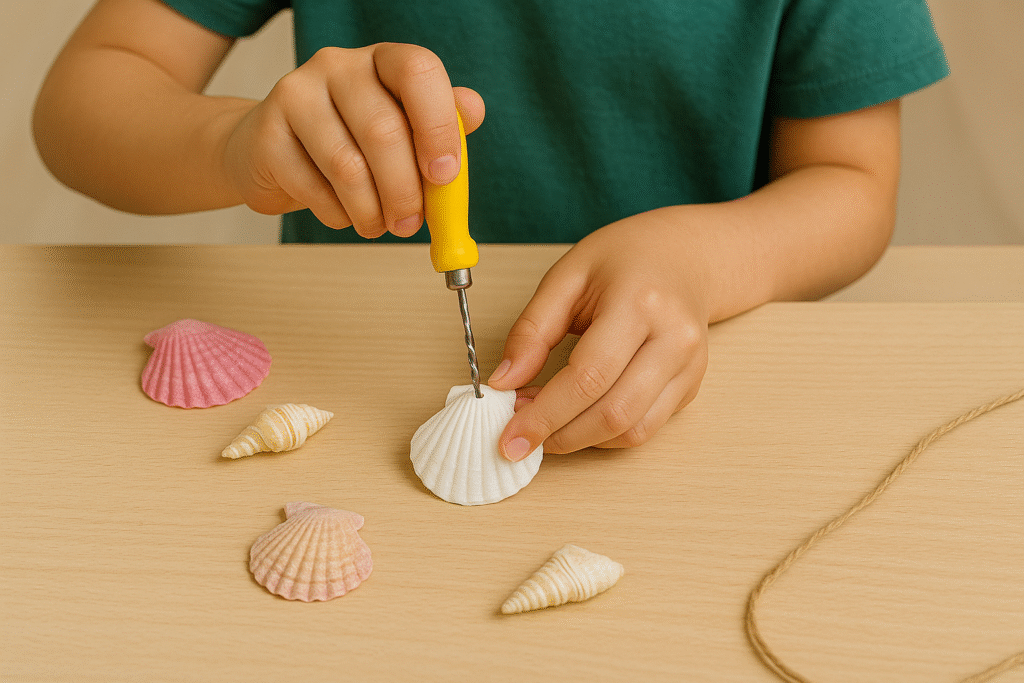
If your shells don’t already have holes:
- Place them face down on a towel
- Gently twist a push pin or mini drill to create a hole
- Rotate slowly to prevent cracking
Safety First: Always have an adult assist during this part.
Step 4: Plan the Pattern
Lay out your design first:
- Will it be a single large shell pendant?
- Will you add colourful beads between smaller shells?
- Is there a colour story or theme?
This planning stage helps avoid frustration later and encourages intentional design.
Step 5: String It All Together
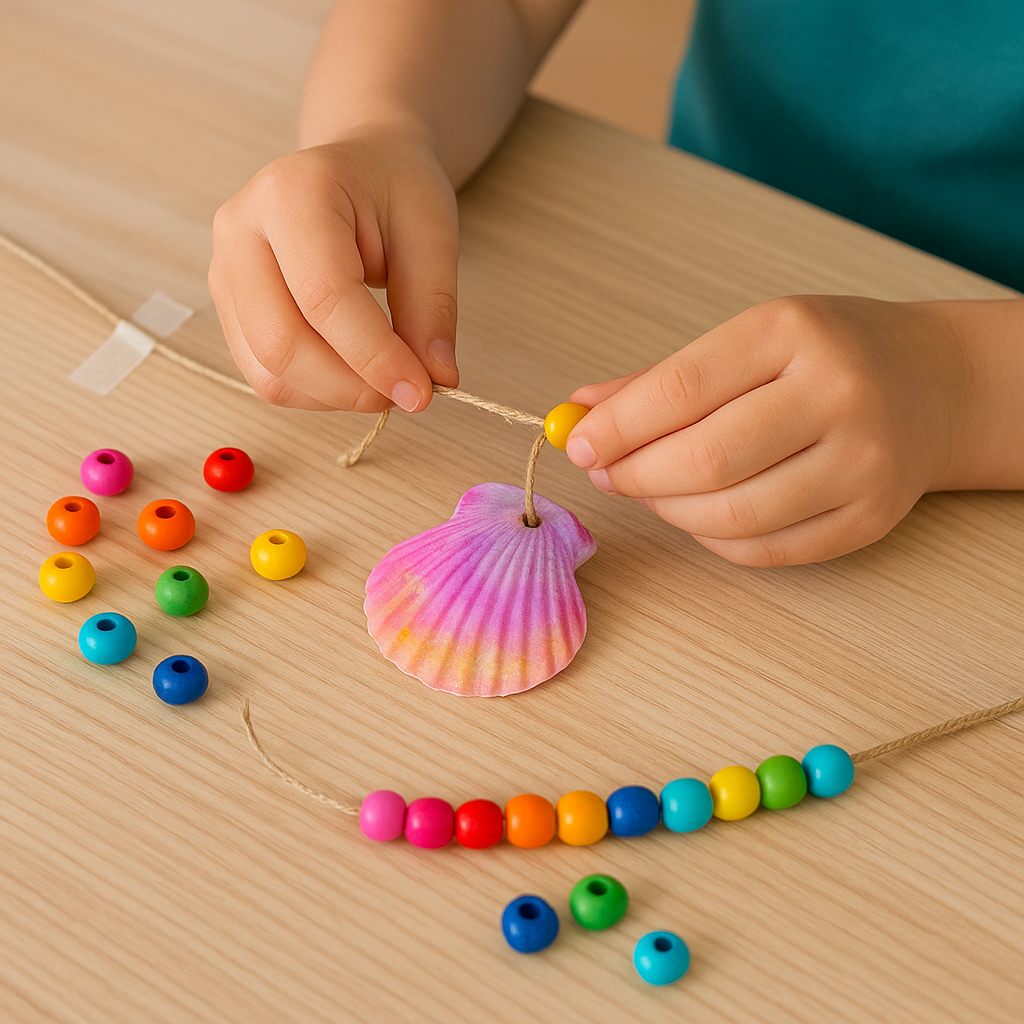
- Cut the cord to about 50–60cm (adjust depending on age and preferred length)
- Tape one end to the table to prevent slipping
- Thread shells and beads according to your pattern
- Tie a secure knot or use a clasp to finish
Quick Variant: Use stretchy cord for an easier bracelet version.
Step 6: Show Off and Share
Encourage kids to write a “shell story”:
- Where did they find each shell?
- Why did they choose these colours?
- What does their necklace represent?
This adds emotional value and turns a simple craft into a memorable storytelling experience.
Don’t forget to take a photo! These make great gifts or keepsakes.
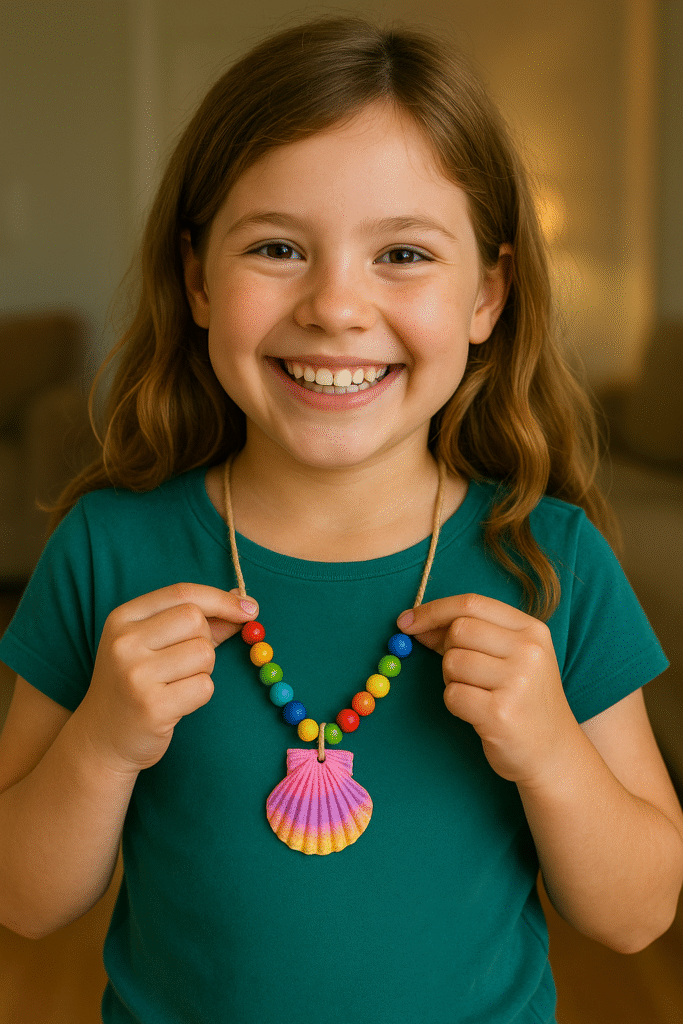
What Kids and Parents Are Saying
“My daughter wore her necklace for weeks. She even gave one to her grandma for Mother’s Day!” – Emma, WA
“It’s so much more than a craft—it helped us talk about tides and sea creatures. Loved the conversation that came with it.” – Ravi, QLD
Try These Creative Variants
Glow-in-the-Dark Shells – Use glow paint or stickers for night-time fun
Friendship Necklaces – Swap shells with a friend and wear each other’s creations
Nature Mix Necklace – Combine shells with leaves, seed pods, or pebbles for a wild look
DIY Ocean Storybook – Add a handmade mini book about your beach trip as part of a larger craft kit
Explore more in our Hands-On Beach Science category.
Know Your Shells: Types and Styles for Crafting
Not all seashells are created equal—some are easier to work with, while others bring unique textures and colours to your designs. Here’s a quick guide to help kids and parents pick the right ones:
| Shell Type | Crafting Difficulty | Best For |
|---|---|---|
| Cockle Shells | Easy | Painting, single pendant |
| Clam Shells | Medium | Layered patterns, dyeing |
| Scallop Shells | Easy to drill | Centrepieces, bright colours |
| Auger Shells | Hard (no flat base) | Side beads or fringe effect |
| Olive Shells | Slippery shape | Painted patterns, dangle style |
Bonus Tip: Avoid sharp-edged shells or those with cracks—they can break easily when drilled or painted.
Encourage kids to mix shell types in one necklace to tell different parts of a “beach story”—each shell representing a chapter.
Turn Your Next Beach Walk into a Shell Hunt Adventure
Collecting the shells is half the fun! Use your next trip to the beach as a sensory-rich, slow-paced family activity:
- Tide Talk: Teach kids about low vs high tide—when is the best time to find shells?
- Shell Scavenger Hunt: Make a checklist—find a spiral shell, a white one, a shell with a hole, etc.
- Sorting Game: Use a small tackle box or muffin tin to sort shells by size or type once home
→ Try our full guide on Nature Activities for Kids for more ideas.
Make & Share: Filming Your DIY Tutorial
Want to boost kids’ confidence and teach digital literacy at the same time? Turn the necklace-making session into a video project!
Here’s how:
- Plan a Script – Kids introduce themselves and explain the materials
- Record Step-by-Step – Use a tripod or prop up your phone at the right angle
- Add Voiceover or Captions – Encourage storytelling about the beach trip
- Share Privately or Post – Create a private YouTube link or share with family members
This turns crafting into a cross-skill activity: creativity, communication, and tech practice in one go.
Download Your Free Seashell Necklace Craft Kit
This printable PDF includes:
- Shell Template Poster
- Colouring and Decoration Ideas
- Necklace Design Planning Sheet
- Shell Story Writing Page
- Junior Ocean Crafter Certificate
Download the Kit Here
(Subscribe to access more resources like this from our Craft Corner)
A Keepsake Worth the Sand in Your Shoes
In a world full of screen time and plastic toys, the simple act of crafting with natural materials can bring joy, calm, and connection. The seashell necklace isn’t just a beach-themed accessory—it’s a story, a memory, and a badge of exploration.
Whether you live by the ocean or just bring home a bag of shells after a trip, this activity turns those little treasures into something truly meaningful.
Explore More Nature Crafts
See Our DIY Memory Projects
Frequently Asked Questions (FAQ)
Q: What if I don’t have seashells?
A: You can buy a small pack online or at a local craft store. Some even come pre-drilled.
Q: Is this safe for younger kids?
A: Yes, with supervision during drilling and stringing. Stretchy cords and larger beads make it toddler-friendly.
Q: How do I store or protect the necklace?
A: Keep in a small craft box or use a mini jewellery pouch to prevent tangling or damage.


