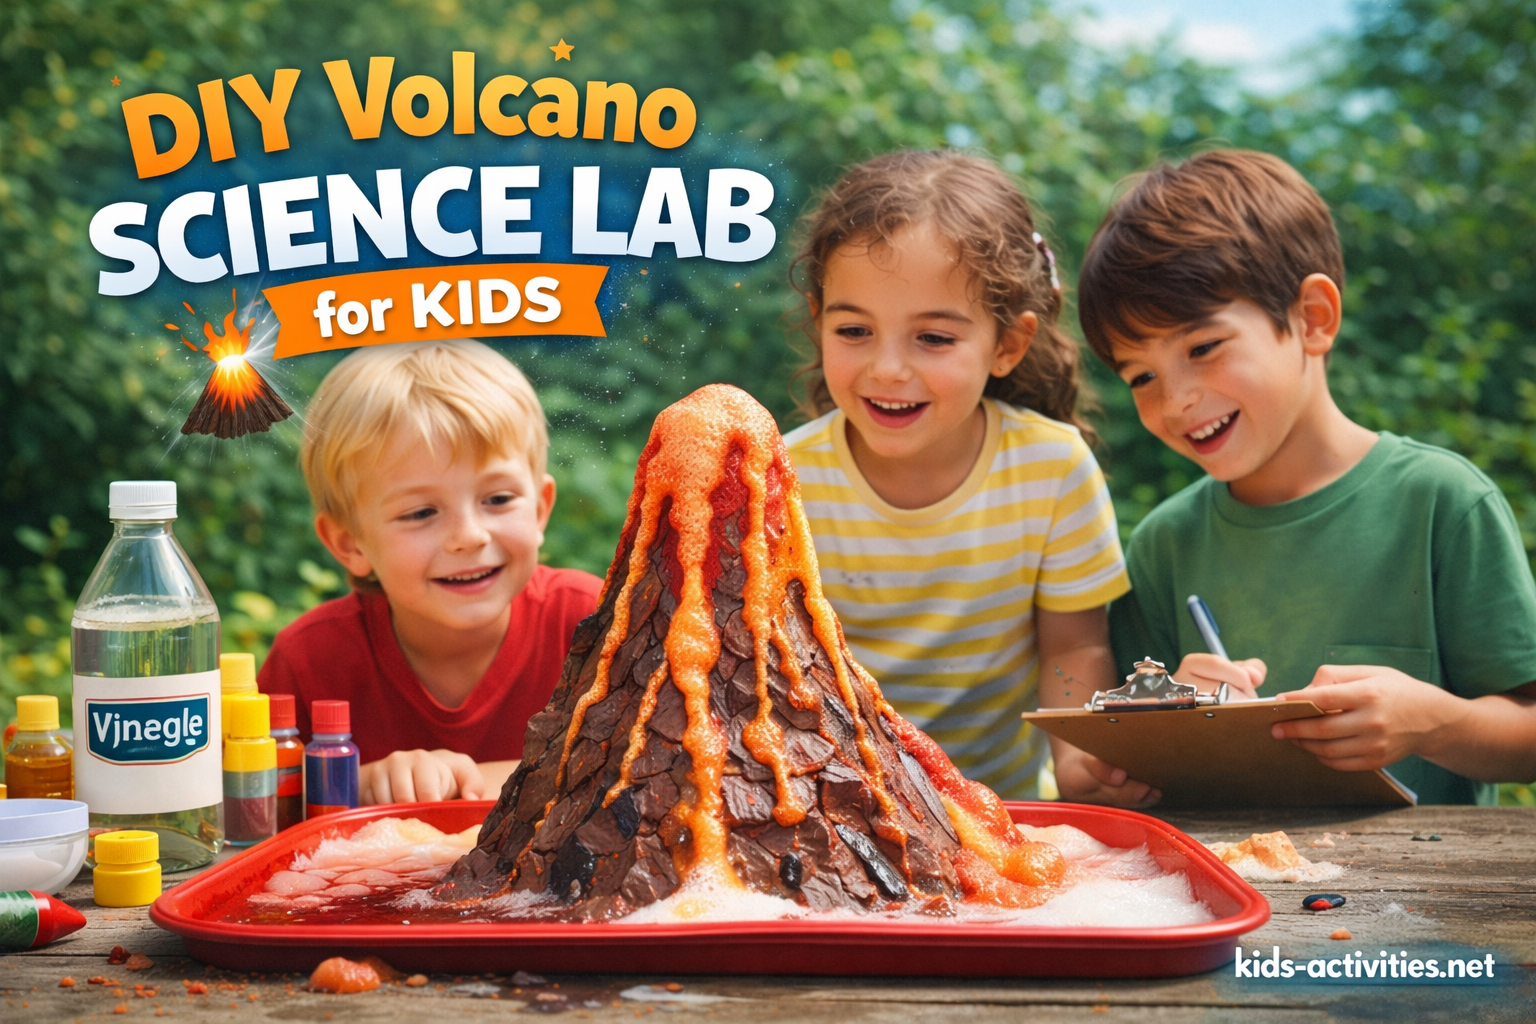
DIY Volcano Science Lab for Kids——a Real Hands-On STEM Learning Experience
Why the DIY Volcano Experiment Still Matters
Almost every parent or teacher has tried the classic baking soda volcano at least once.
And almost every child loves it.
But here’s the problem:
Most volcano experiments stop at “Wow, it erupted!” — and end there
No reflection.
No science language.
No real understanding.
This DIY Volcano Science Lab is designed to go beyond a one-minute reaction.
Instead, it turns a familiar experiment into a mini science lab experience that builds:
- Curiosity
- Scientific vocabulary
- Observation skills
- Confidence in asking “why”
Best of all, it works at home, in classrooms, or in small groups, using simple materials.
What Makes This Volcano Lab Different?
This is not just an experiment.
It’s a structured learning experience.
Child-led
Low-cost
Reusable
Adaptable for multiple age levels
Instead of focusing on the eruption, we focus on:
- Prediction
- Observation
- Variation
- Explanation
- Reflection
That’s real STEM learning.
Learning Goals
For Kids
- Understand cause and effect
- Learn how substances react
- Practice describing what they see
- Feel like a “real scientist”
For Adults (Parents & Teachers)
- Introduce science without lectures
- Encourage inquiry, not memorization
- Build confidence around STEM activities
Materials List (Simple & Flexible)
You likely already have most of these at home.
Core Materials
- Baking soda
- Vinegar
- Dish soap (optional, for foam)
- Food coloring (optional)
- Small plastic bottle or cup
- Tray or large container
Optional Add-Ons
- Modeling clay or paper mache (to build the volcano)
- Measuring spoons
- Funnels
- Notebook or printable observation sheet
Step 1: Set Up Your Volcano Lab
Before anything erupts, slow down.
Explain to your child:
“Today, you’re not just making a volcano.
You’re running a science experiment.”
Build the Volcano
- Place the bottle in the center of a tray
- Use clay or paper to shape a volcano around it
- Leave the opening clear at the top
Let kids design freely — messy is fine.
Step 2: Introduce the Science
Use simple language.
You don’t need chemical formulas.
Try this:
“We’re going to mix two things and see what happens.
Scientists watch closely and ask questions.”
Ask:
- What do you think will happen?
- Will it be fast or slow?
- Big or small?
Let kids answer freely.
No corrections yet.
Step 3: The Classic Eruption (Round One)
Inside the Volcano
- 2–3 tablespoons baking soda
- A few drops of dish soap
- Food coloring (optional)
The Reaction
Slowly pour vinegar into the bottle.
Pause.
Watch.
Let the eruption happen.
Step 4: Observe Like a Scientist
Instead of reacting immediately, guide observation.
Ask:
- What do you see?
- What do you hear?
- What changed?
- How long did it last?
Encourage kids to:
- Draw what they saw
- Describe it in their own words
- Use comparisons (“like a fountain”, “like bubbles”)
This step is where learning happens.
Step 5: Change One Thing (The Real Science Part)
Now comes the lab mindset.
Explain:
“Scientists change just one thing at a time.”
Try variations such as:
- More baking soda
- Less vinegar
- No dish soap
- Different colors
- Warm vs. cold vinegar
Each time, ask:
- What did we change?
- What stayed the same?
- What was different?
Step 6: Connect to Real Volcanoes (Age-Appropriate)
For younger kids (5–7):
- “Real volcanoes push hot material out of the Earth.”
- “Gas builds up and needs space.”
For older kids (8–12):
- Talk about pressure
- Explain gas release
- Compare lava vs. foam
Keep it visual and simple.
Step 7: Reflection & Communication
This is often skipped — and it shouldn’t be.
Ask kids to finish sentences like:
- “I noticed that…”
- “I was surprised when…”
- “Next time, I want to try…”
Reflection builds:
- Language skills
- Confidence
- Deeper understanding
Adapting This Lab for Different Ages
Ages 5–6
- Focus on sensory experience
- Short attention spans
- Use drawing instead of writing
Ages 7–9
- Introduce simple predictions
- Use comparison words
- Encourage short explanations
Ages 10–12
- Record results
- Discuss variables
- Write mini conclusions
Classroom Version: Teacher-Friendly Setup
This lab works well for:
- Science centers
- Group rotations
- STEM days
Tips:
- Pre-measure materials
- Assign roles (pourer, observer, recorder)
- Use one volcano per group
Common Mistakes to Avoid
- Rushing the experiment
- Over-explaining the science
- Correcting kids’ language too quickly
- Treating it as a one-time activity
Remember:
The goal is thinking, not perfection.
Optional Follow-Ups
- Draw a labeled volcano
- Watch a short volcano video and compare
- Create a “Volcano Science Journal”
- Turn it into a science fair display
Why This Activity Belongs in Every Kids Activity Library
The DIY Volcano Science Lab is powerful because it is:
- Familiar but flexible
- Simple but meaningful
- Fun but educational
It transforms screen-time curiosity into real-world exploration.
Free Printable Resources
To support this activity, you can link to:
- Volcano Lab Observation Sheets
- Prediction & Reflection Cards
- Step-by-Step Lab Guide (Parent & Teacher Versions)
- Science Vocabulary Cards
Final Thought
You don’t need expensive kits or complex explanations to teach science.
You need:
- Time
- Curiosity
- A little vinegar
And the willingness to let kids explore.
That’s where learning really begins.
Recent Posts
Family Podcast Project for Kids: A Fun Educational Activity That Builds Confidence
Build a Marble Roller Coaster: A Hands-On STEM Challenge for Kids