Turning Play Into Physics
What if you could transform your kitchen table or classroom into a mini physics lab using just cardboard tubes and marbles? That’s exactly what this Marble Roller Coaster STEM Challenge does! It’s a fun, hands-on activity that encourages kids to explore core scientific and engineering principles—all while playing.
Perfect for kids ages 5–12, this activity invites children to design, build, test, and optimize their own marble run roller coaster using household items. Whether you’re homeschooling, teaching in a classroom, or simply entertaining energetic kids on a weekend, this is an exciting way to inspire curiosity and learning through open-ended play.
Why This STEM Activity Rocks
This marble roller coaster challenge is more than just fun—it’s packed with educational value. Here’s what kids learn:
- Physics Concepts: Gravity, momentum, force, and friction
- Engineering Design: Planning, prototyping, iterating
- Math Skills: Measuring angles, timing runs, counting marble rotations
- Creative Thinking: Solving unexpected challenges with unique solutions
- Resilience: Learning through failure and redesign
Plus, it’s screen-free, low-cost, and infinitely replayable. The moment the marble falls off the track? That’s not failure—it’s a design opportunity!
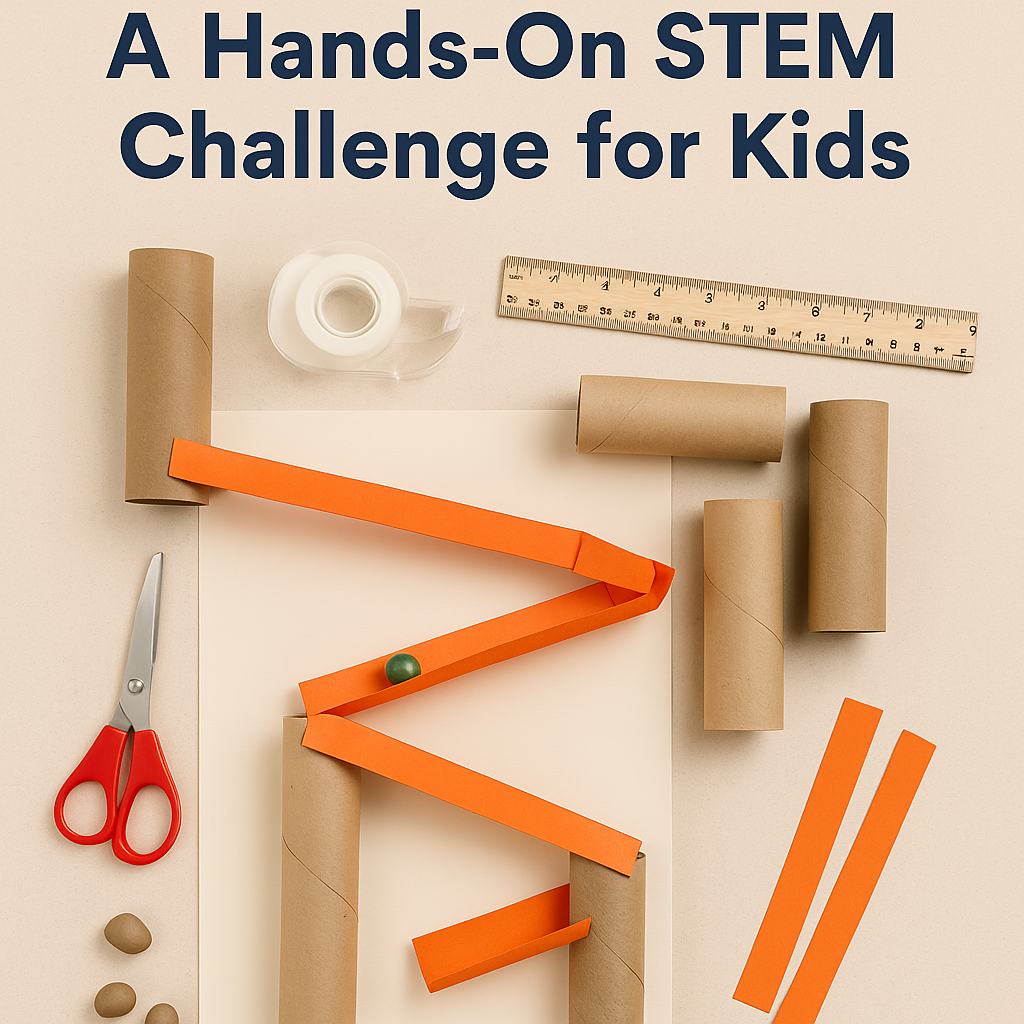
Materials You’ll Need
This activity is flexible—you can use what you have around the house or classroom. Encourage kids to get creative with materials.
Basic Supplies:
- Cardboard tubes (toilet paper, paper towel rolls)
- Masking tape or painter’s tape
- Marbles (or small balls like bouncy balls)
- Scissors
- A base (large piece of cardboard or wall space)
Optional Add-ons:
- Paper cups or bowls (for collecting marbles)
- Rulers and protractors (to introduce measurement)
- Stopwatch or phone timer
- Paper and pencils for sketching designs
How to Build Your Marble Roller Coaster: Step-by-Step
- Plan Your Design
Start by imagining your track. Will it be high and fast? Loopy? Twisty? Draw a basic sketch. - Cut and Shape Your Track
Cut cardboard tubes in half to form U-shaped tracks. You can also bend, fold, or trim to create ramps and curves. - Tape and Test
Begin attaching track pieces to your wall or base using masking tape. Start at a high point and angle downward. Run your marble to test each section as you build. - Tweak and Troubleshoot
Did your marble fall off? Get stuck? Too fast? Adjust angles, add supports, or create bumpers using more tape or materials. - Add Challenges
Introduce loops, jumps, or multiple paths. Challenge kids to keep the marble rolling as long as possible—or hit a specific target. - Document the Design
Encourage kids to name their coaster, draw a final version, or explain their choices.
Learning Extensions & Variations
Make the activity even more engaging with these extensions:
- Timed Trials: Use a stopwatch to compare different coaster designs.
- Distance Challenge: See how far the marble can travel after leaving the track.
- Slowest Marble Wins: Build a design where the marble takes the longest time to finish.
- STEM Journal Entry: Document each build, noting what worked, what didn’t, and ideas for improvement.
- Engineering Roles: Assign roles like Designer, Tester, Fixer, and Timer for collaborative play.
Real-World STEM Concepts in Action
This simple activity models real engineering practices:
- Iterative Design: Plan → Build → Test → Improve → Repeat
- Physics in Motion: Kids directly observe gravity, inertia, and acceleration
- Collaboration and Communication: Kids work together and share design ideas
- Math Application: Use of angles, time, and measurement in a meaningful way
Tips for Success
- Use masking tape for easy repositioning
- Encourage kids to test frequently instead of building the whole thing before trying
- Ask guiding questions: “What do you think will happen if we raise this part?”
- Don’t fix mistakes—let kids lead the problem-solving
Bonus Challenges for Advanced Builders
- Add a loop-the-loop (use flexible plastic or slotted paper)
- Build multi-track races
- Design a themed coaster (Dinosaur Drop? Space Slide?)
- Make it marble-powered: Can it trigger a domino chain?
Learning That’s Built to Roll
The Marble Roller Coaster STEM Challenge is a thrilling way to connect play with science, engineering, and design. With everyday materials and a little creativity, kids learn essential STEM concepts while having a blast.
So next time you hear, “I’m bored,” grab some cardboard tubes and say, “Let’s build something amazing.”